
Many budding bakers think that making croissants in an equatorial climate is a near-to-impossible task. Yet it can be done without having to rack up enormous electricity bills. Read on for some some tips and tricks.

Croissant – the test is in the cross-section!

Start with the Basic 3-Day recipe
Croissants can’t be rushed. Even though it is a 3-day recipe, the hands-on time is very short. 99% of the time is set aside for the dough to ‘mature & develop’ at it own pace in the fridge. You can of course compress the process into a day but it will still take many hours.
I recommend Weekend Bakery’s recipe. Follow its detailed time table and lucid explanations for the step-by-step ‘how-to’ + some tweaks I added to adapt to weather here @ the equator.
The Recipe
My work table is small so I halved the recipe. And this recipe works so well I didn’t need to change a thing.
The Dough
250g all-purpose flour
70g water (use cold water as much as possible)
70g full-cream fresh milk (cold from fridge)
27.5g sugar
20g soft unsalted butter
5.5g instant yeast
6g salt
Butter Slab
140g unsalted butter (make into a 12×12 cm square slab)
Egg Wash
1 full egg, beaten
Day 1 Night – Make the Dough
In the evening, gather all the ingredients in a mixing bowl, mix well & knead until you form a dough. Send dough into the fridge (not freezer) and let it stay there overnight (8-12 hours).
Tip: Knead minimally, 5 minutes by hand.
Trick: Roughly shape dough into a rectangle then wrap with 3 layers of cling wrap then massage it into a better shape after wrapping. No problems rolling it ‘into shape’ the next day.
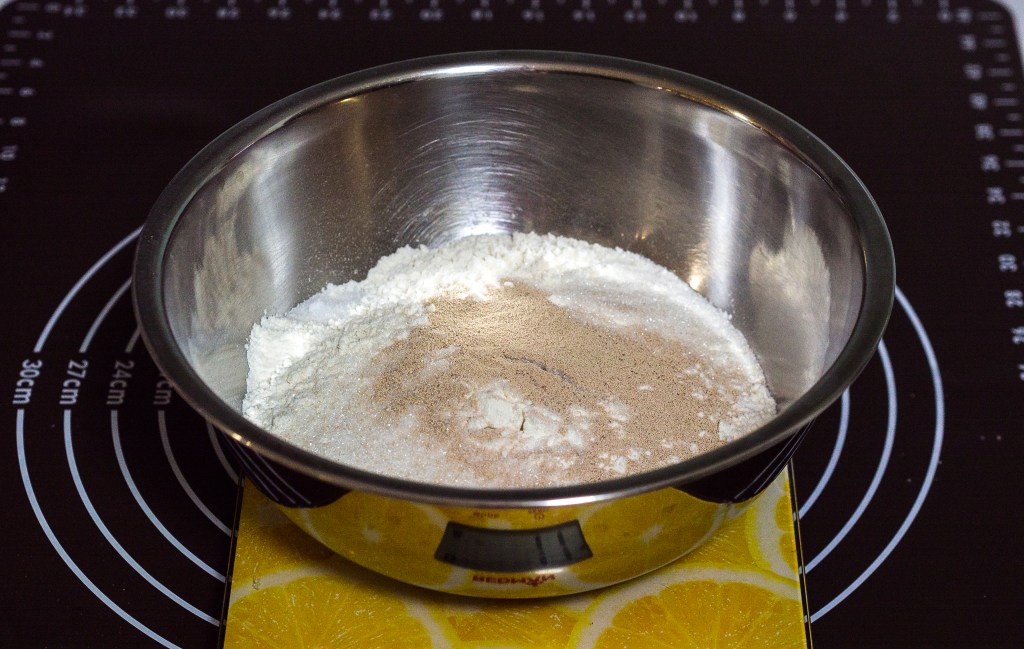
Gather all dry ingredients 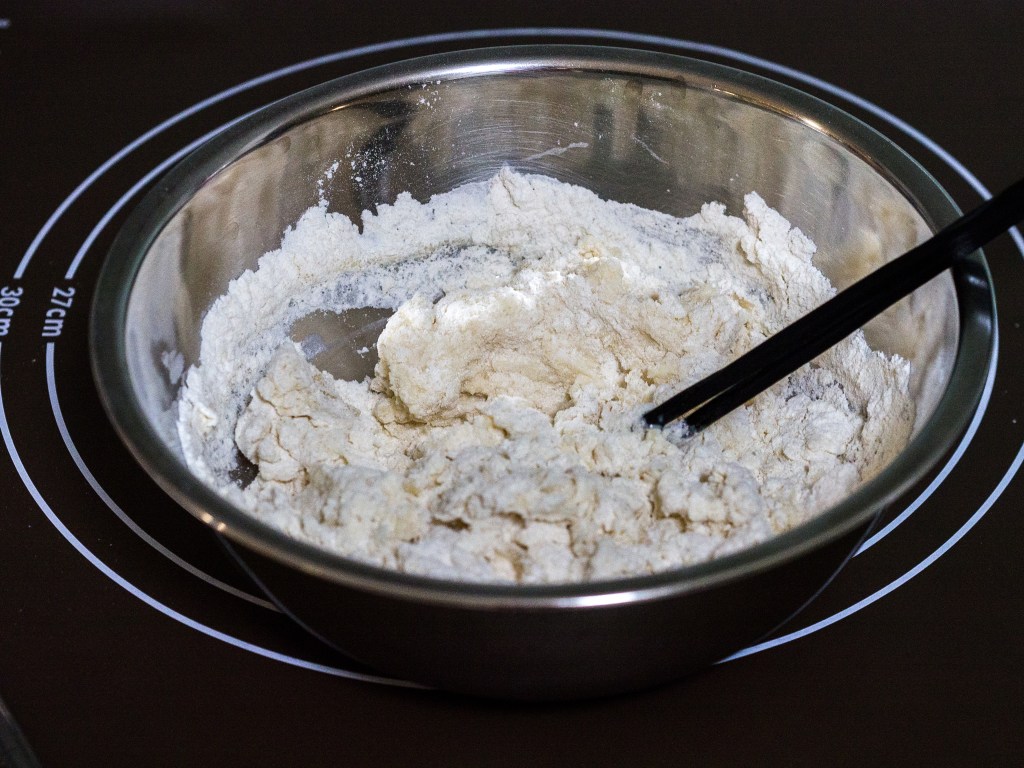
Add water & milk 
Add butter. Mix well 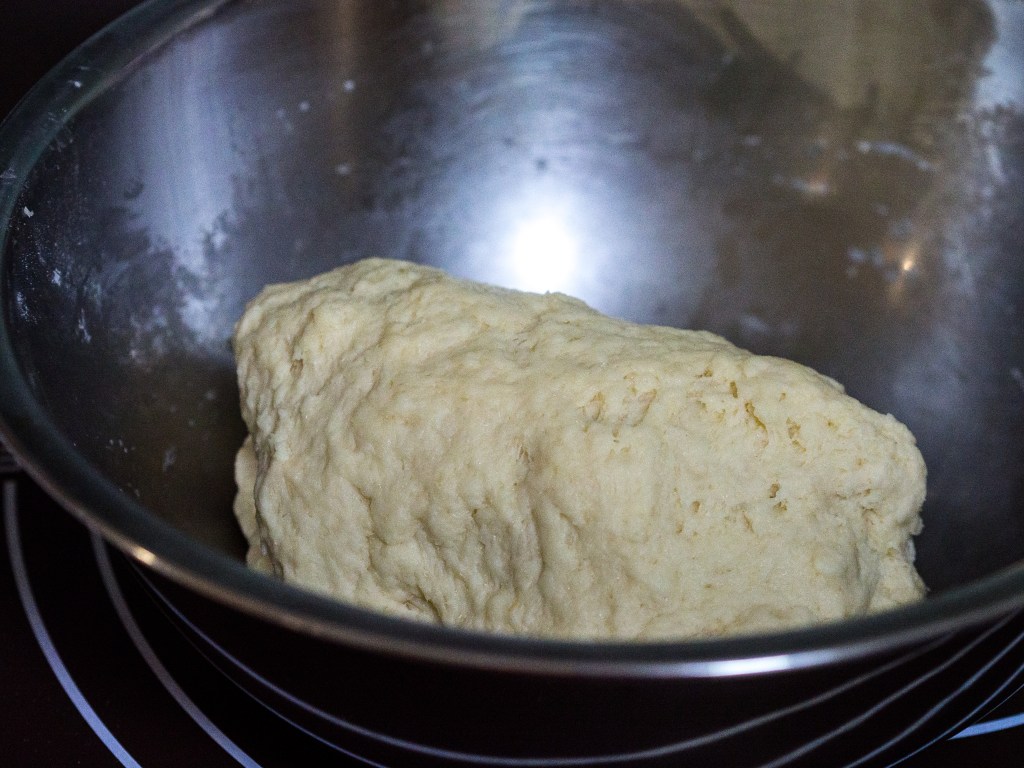
Until a dough forms 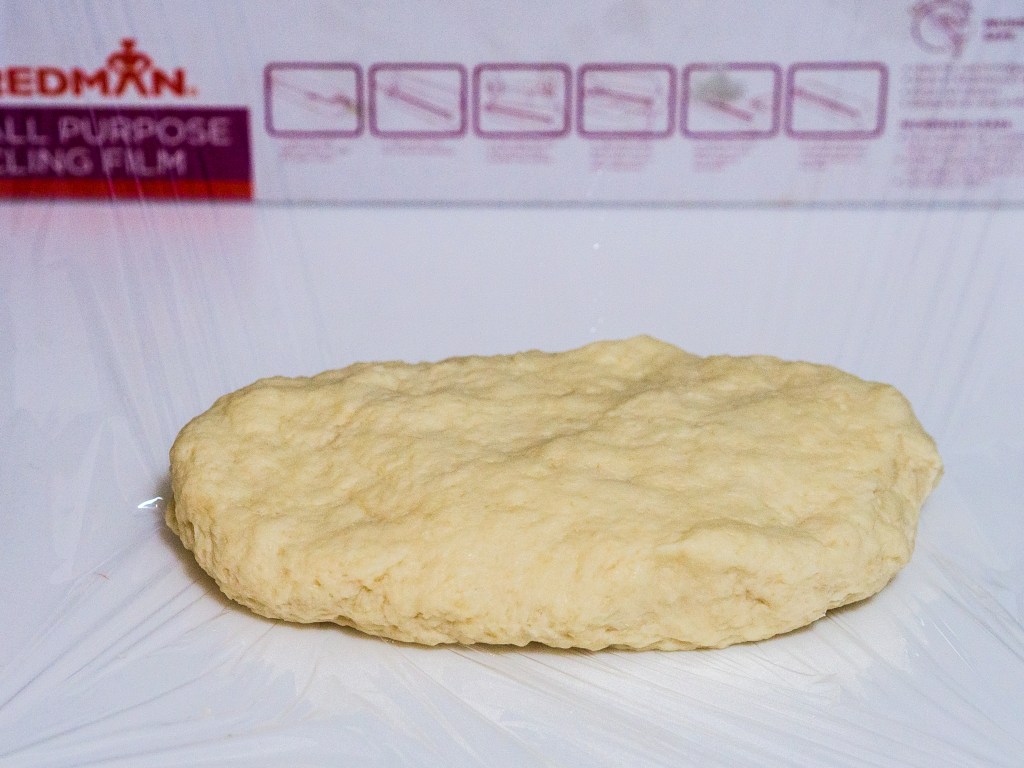
Shape into rectangle 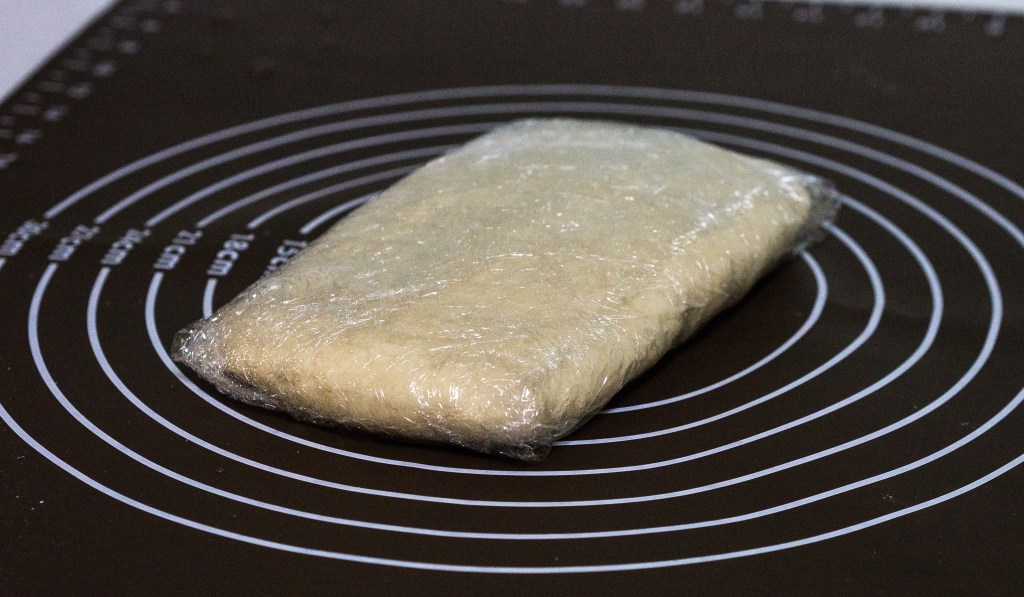
Wrap with cling wrap
To make the butter slab, thaw butter at room temperature, then transfer the softened butter onto a sheet of pre-folded 12cmx12cm cooking paper. Store butter slab in the fridge (not freezer).
Tip: Don’t thaw the butter directly on the cooking paper; the condensation will wet and tear it.
Trick: You can also prepare some butter slabs beforehand then store them in the freezer. When you need it, move it to the fridge section after making the the dough so the butter can ‘soften’ overnight.
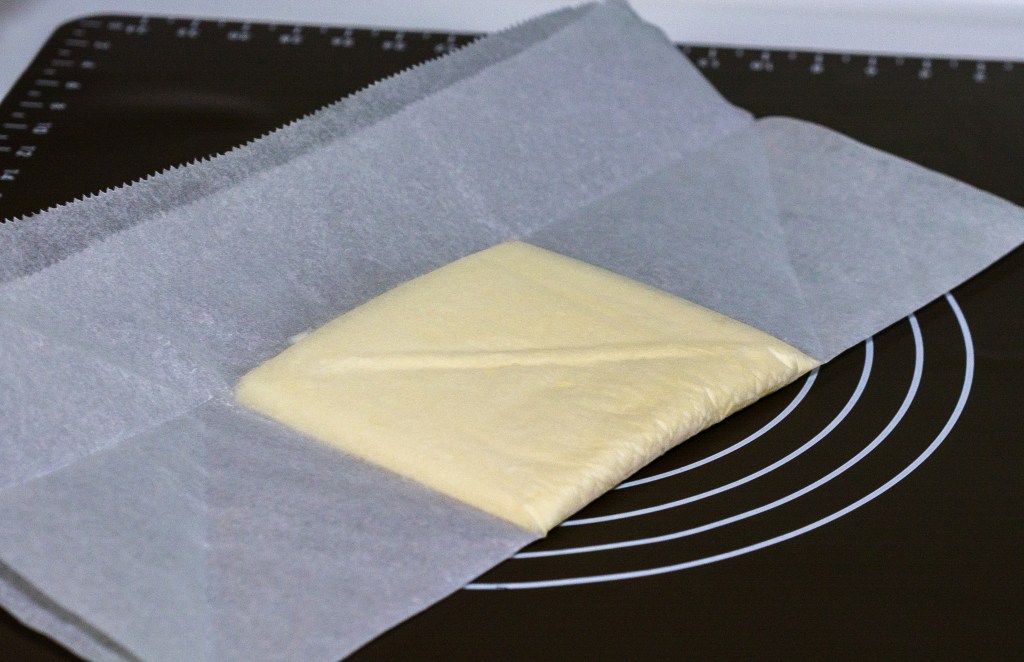
Encase butter in cooking paper 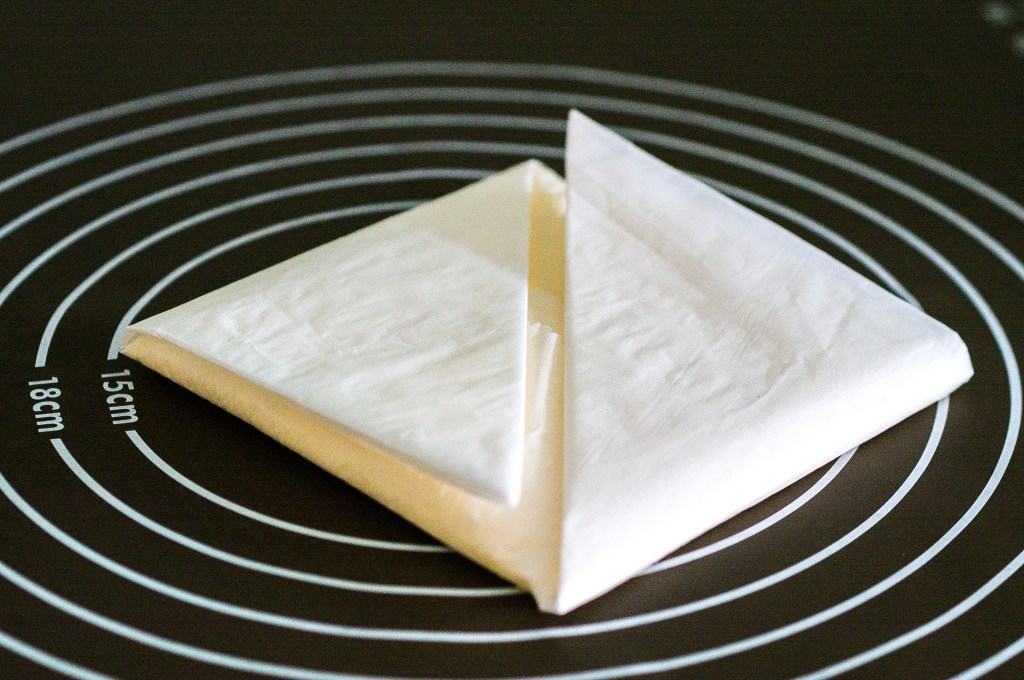
Fold it into shape 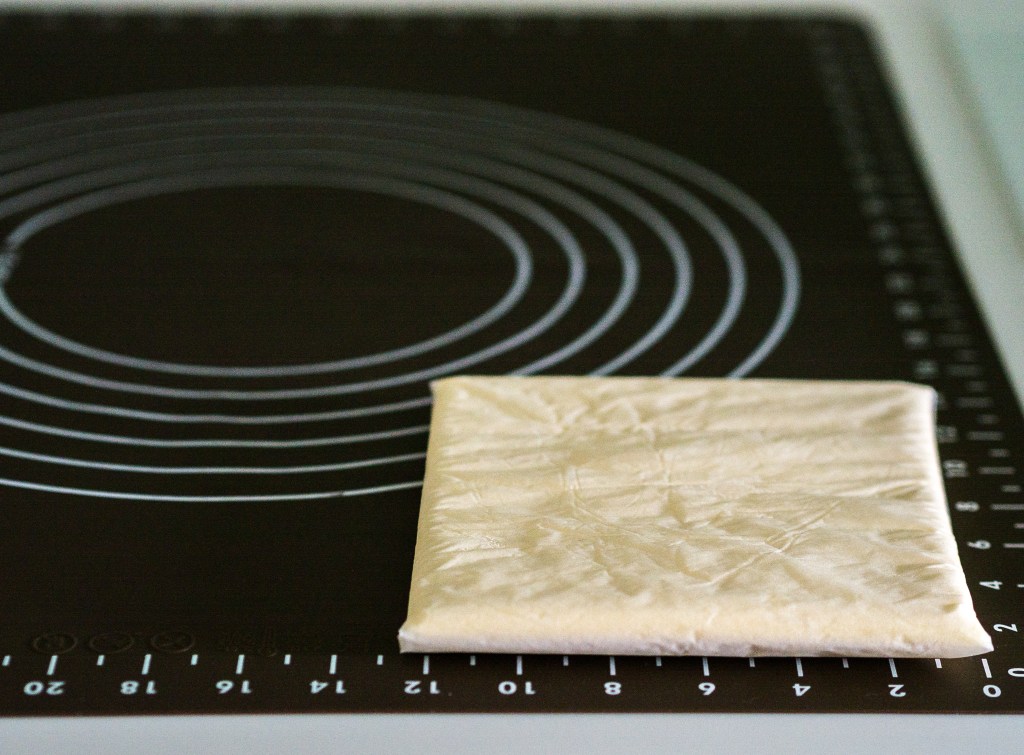
Ready-to-use butter slab
Day 2 – Laminate!
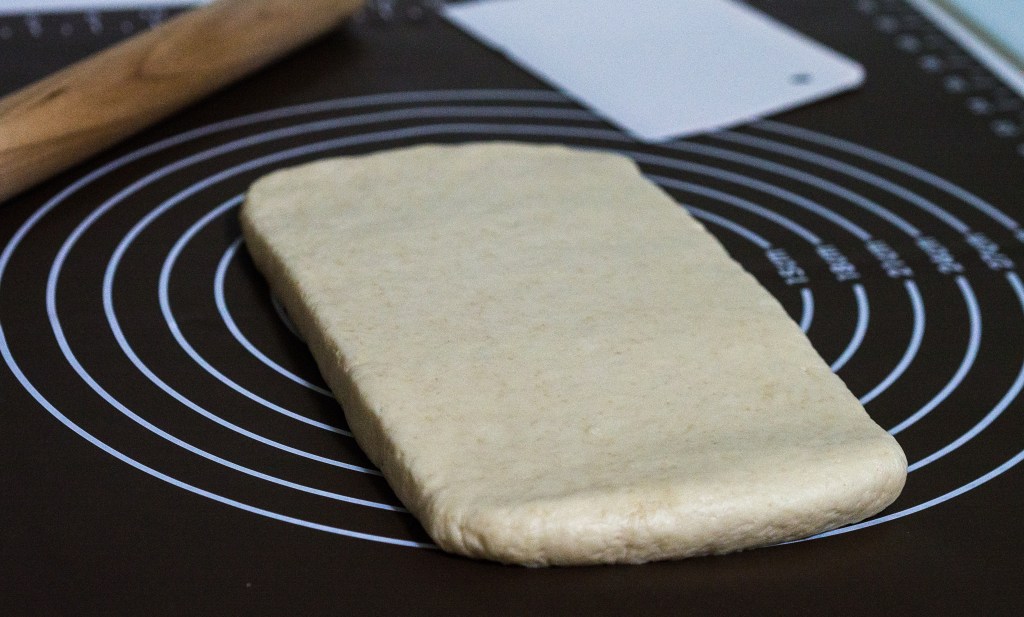
Remove dough from fridge, roll it into a bigger rectangle, 12cm x 24cm or just under this size. Stick it into the freezer for 40-50 minutes to stiffen the dough for lamination; you want it stiff, not frozen. 10 minutes before you are due to work on the dough, take the butter slab out and let it rest at room temperature (mine is 29-30°C).
Tip: Chill dough in freezer before lamination to help stiffen it. If dough is more elastic than usual, chill it longer. Getting a grasp of the respective temperatures /textures for the dough and butter is key to successful lamination.
When time’s up, take the dough out and roll it out to about 14cmx26cm. Place the butter slab in the middle, bring the 2 ends to meet then pinch and seal them. Now you are ready to roll it.
Roll out the stiffened dough 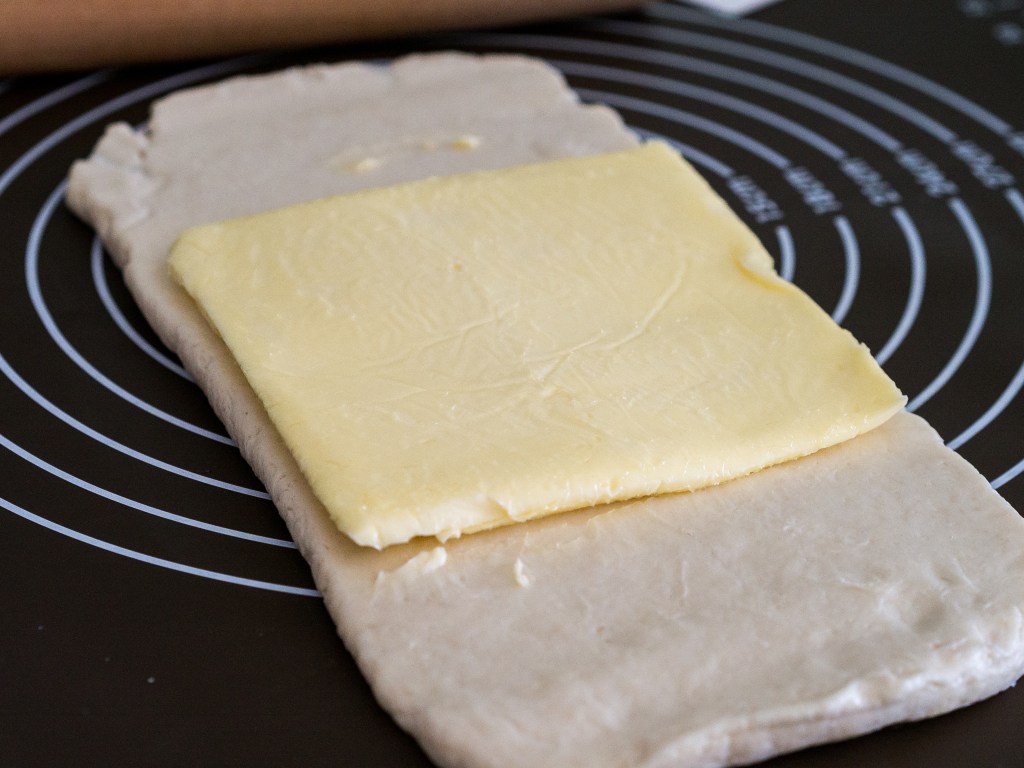
Butter on slab 
Ready for the roll
Press down gently near the pinched seam and continue to work on the rest of dough. Check to see that the butter is stretching together with the dough. The other 2 ends are kept open to give (any) air bubbles an outlet to escape. Pat with some flour as needed.
Rotate the laminated dough so that the pinched seam is now perpendicular to the roller. Press down from the centre and start to roll out the dough to a length of about 46cm.
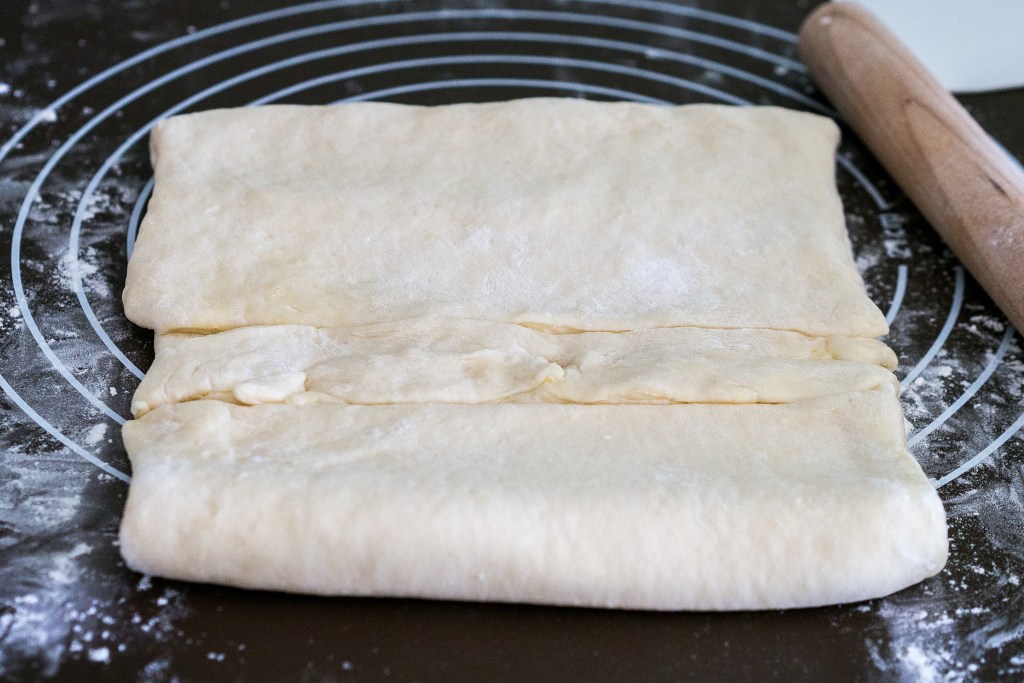
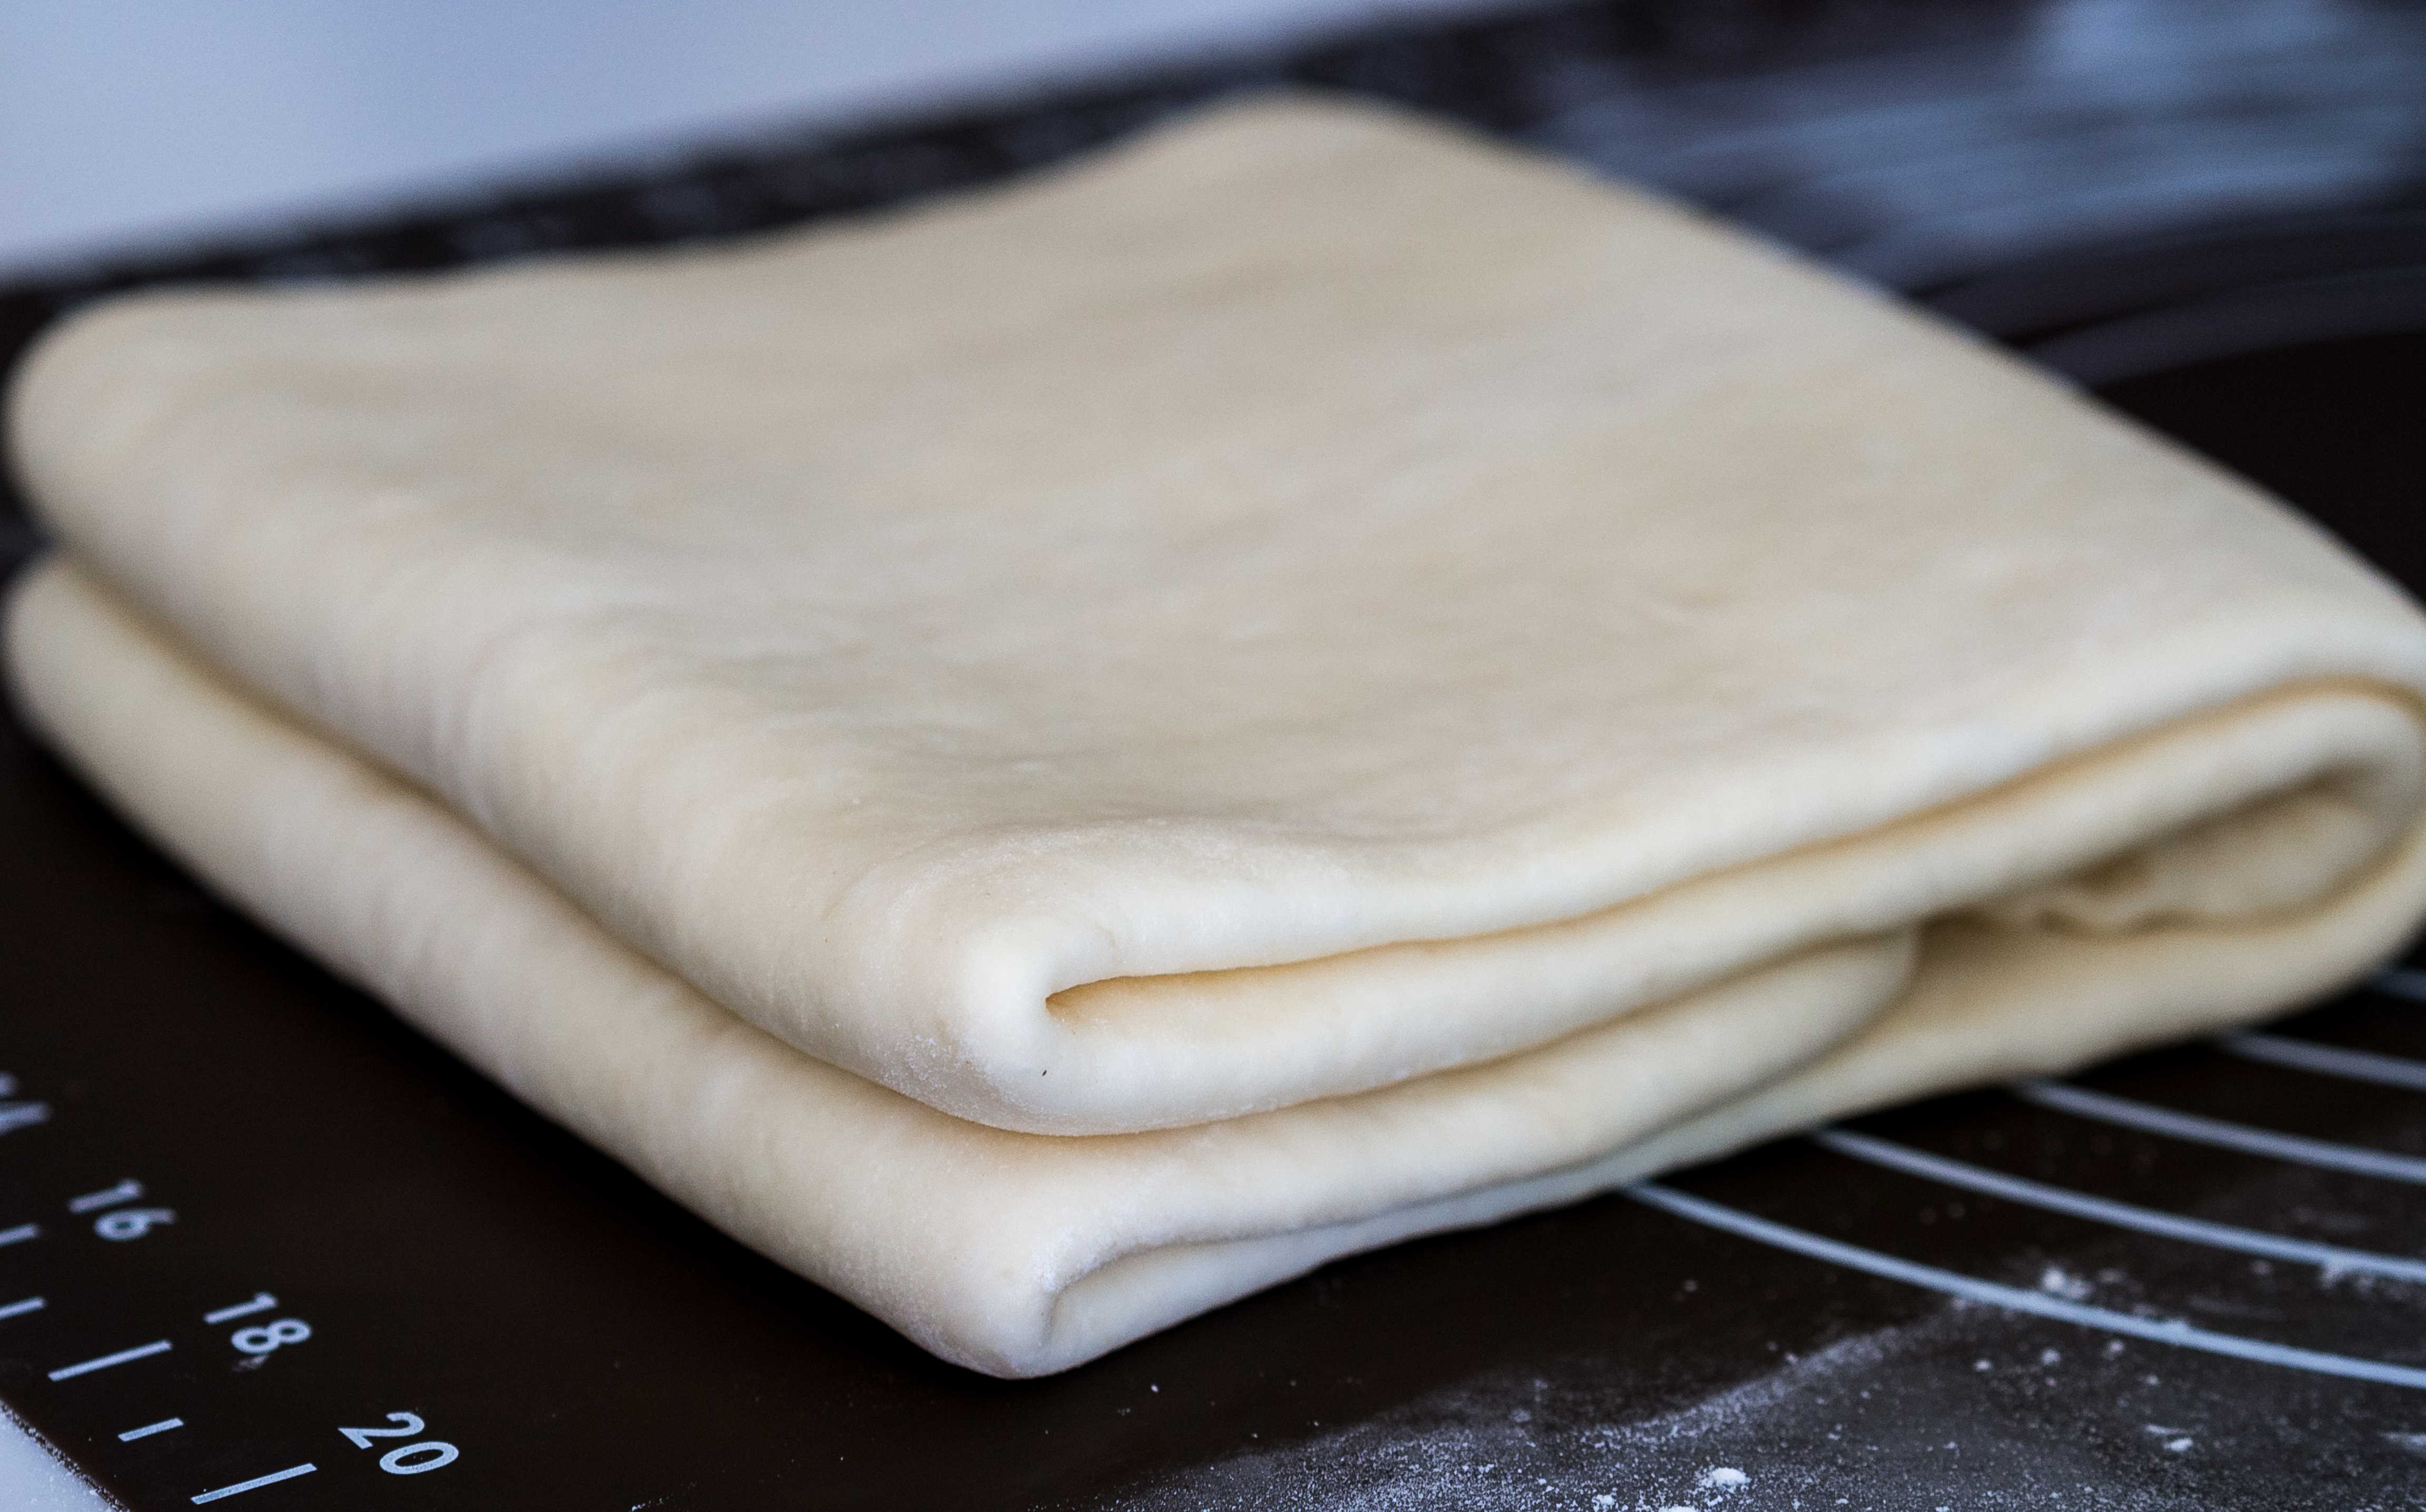
First fold of double-fold 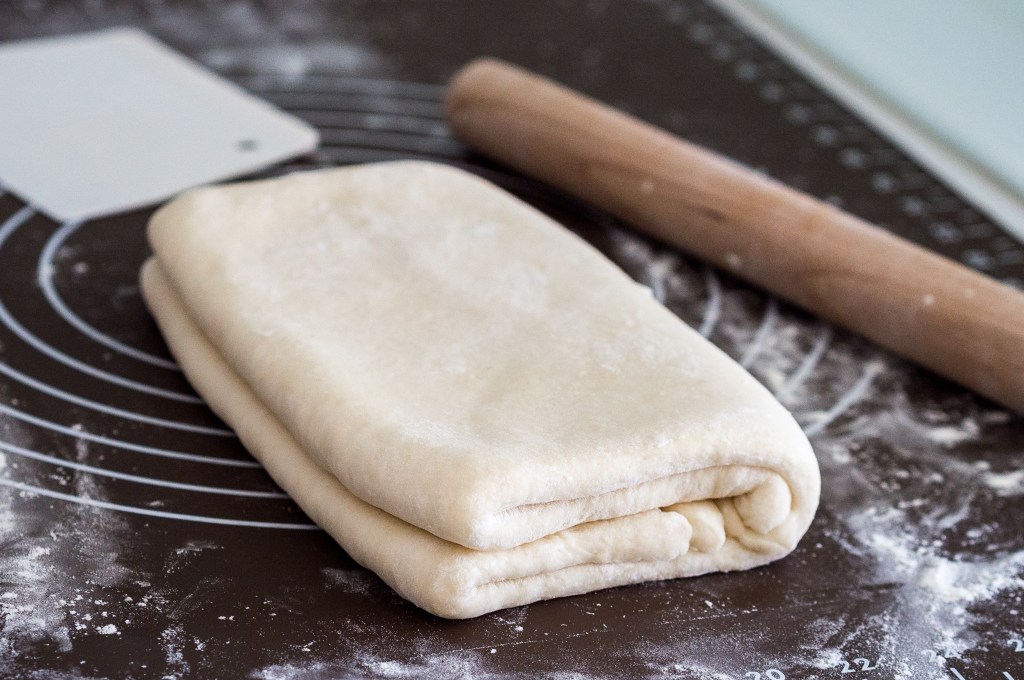
First double-fold done 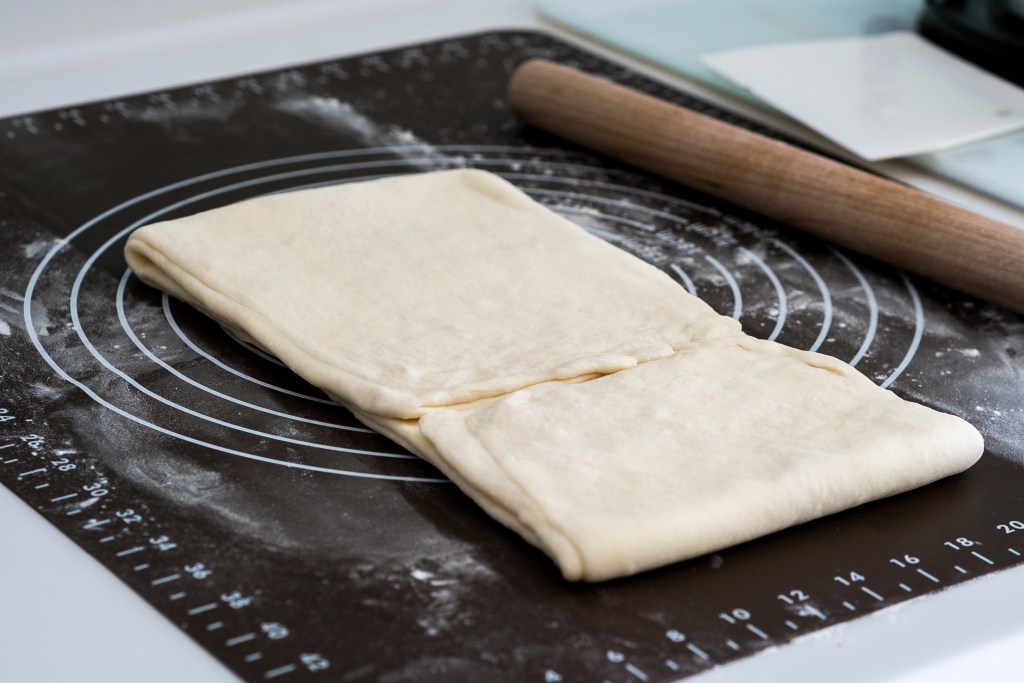
2nd fold
Ideally, do 3x single folds (fold into third) but it gets hot here and bubbles start to form by the 3rd fold. Reduce it to 2x double folds then, resting the dough 40 minutes between each turn.
For the double-fold, fold the 2 long ends inwards so they meet at the 1/3 mark of the dough, then fold the dough again into half. After the final turn, leave it in the fridge until the next day.
Tip: If 3x folds are not feasible, reduce to 2x but create 1 more layer during each fold.
Trick: Keep the ends of the dough as straight as possible from the first fold. If need be, trim off the uneven parts then lay them next to the ends (spread evenly) before folding. Helps the laminated dough maintain a regular shape throughout + zero wastage.
Double-fold
Day 3 – Shape & Bake
Before rolling out the croissants, cool the oven (and baking trays) with ice packs, about 30 minutes. Proof the croissants at a temperature of around 24-26°C.
Tip: Your oven is a great proofer if the kitchen is too warm.
I make my croissants small so I work with half of the dough each time, leaving the other half in the fridge while I roll out the first. Because it is smaller, I roll out the dough thinner as well to a size about 27cm x 40cm. This makes about 8-9 croissants of 6-8cm each.
Tip: The quality of the final product depends on how perfectly you are able to roll out the laminated dough for the final cut.
Trick: A smaller piece of dough (and croissants) is (are) easier to work with .
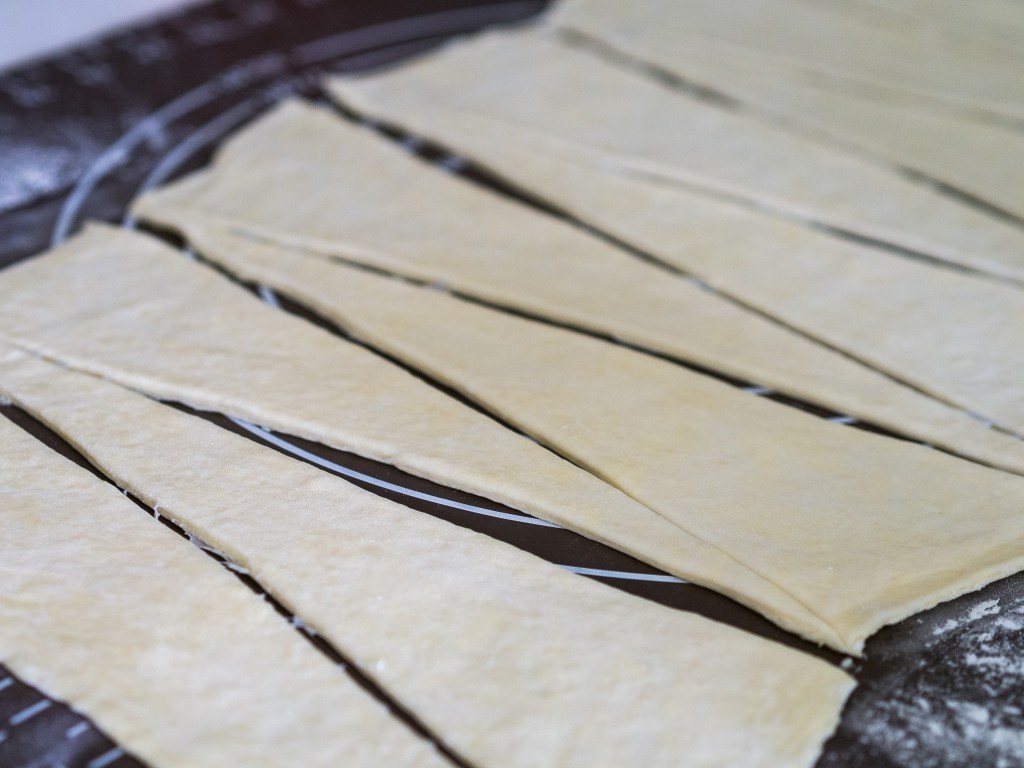
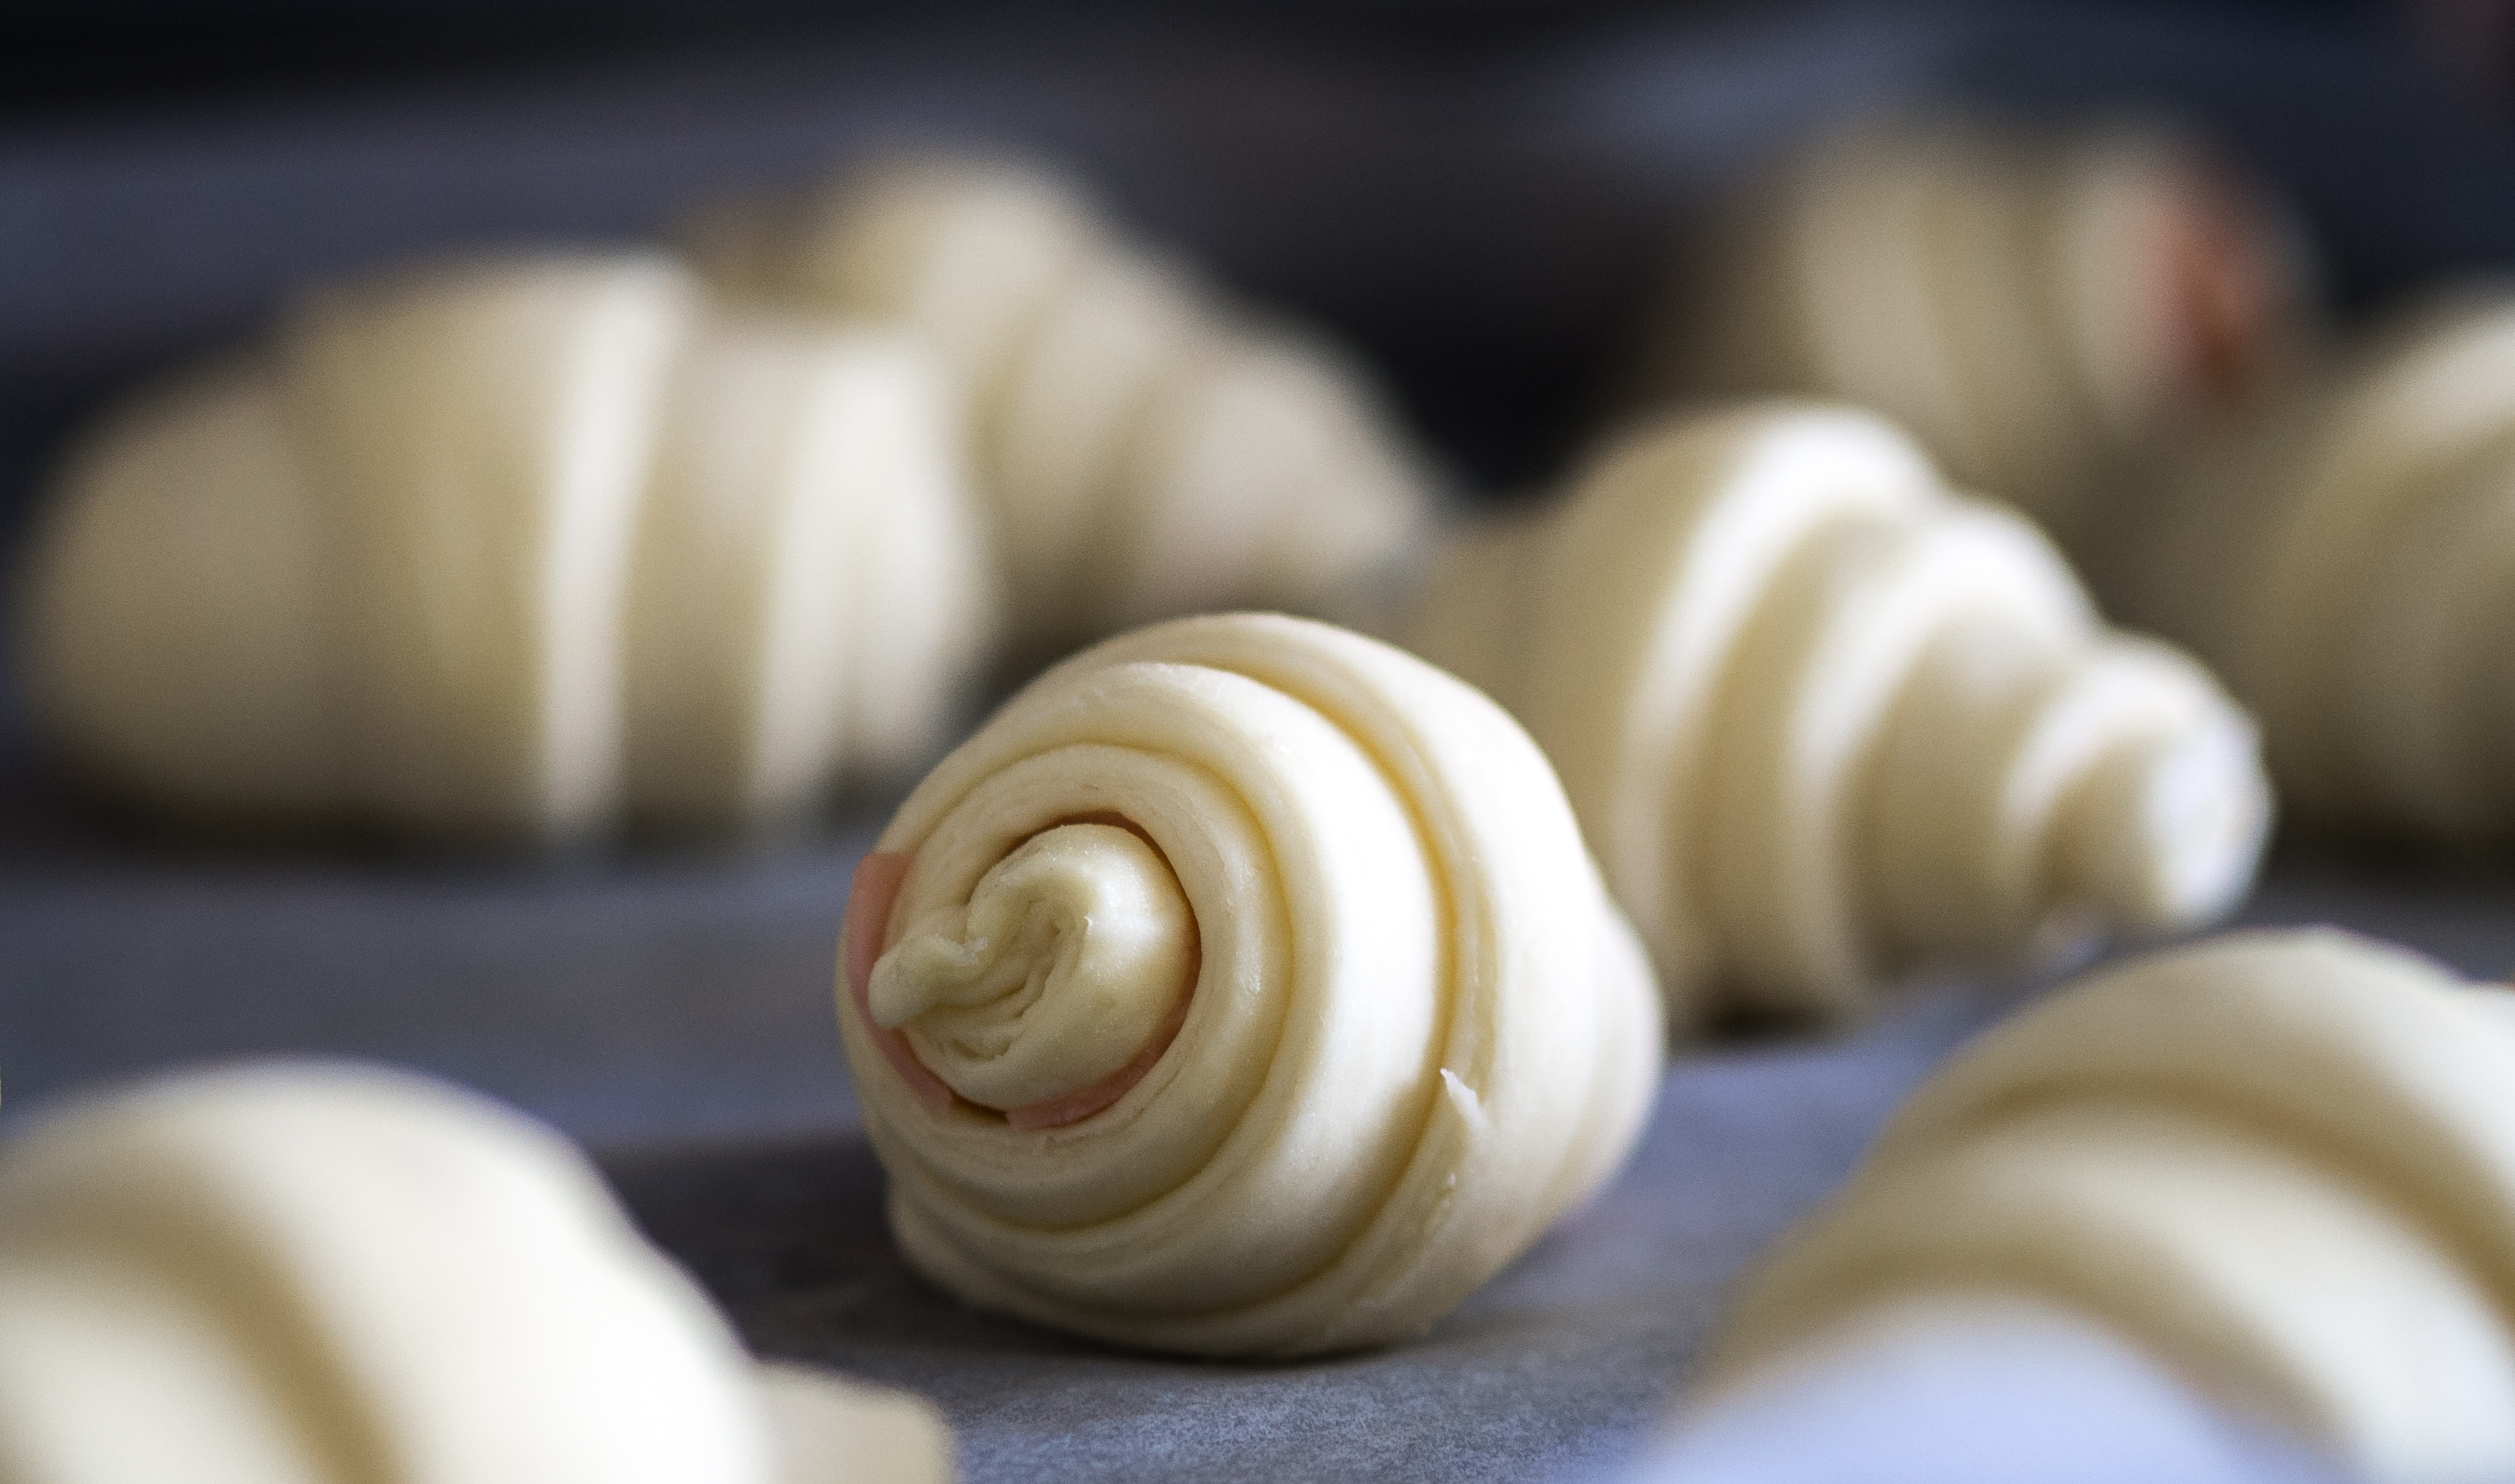
Freshly cut 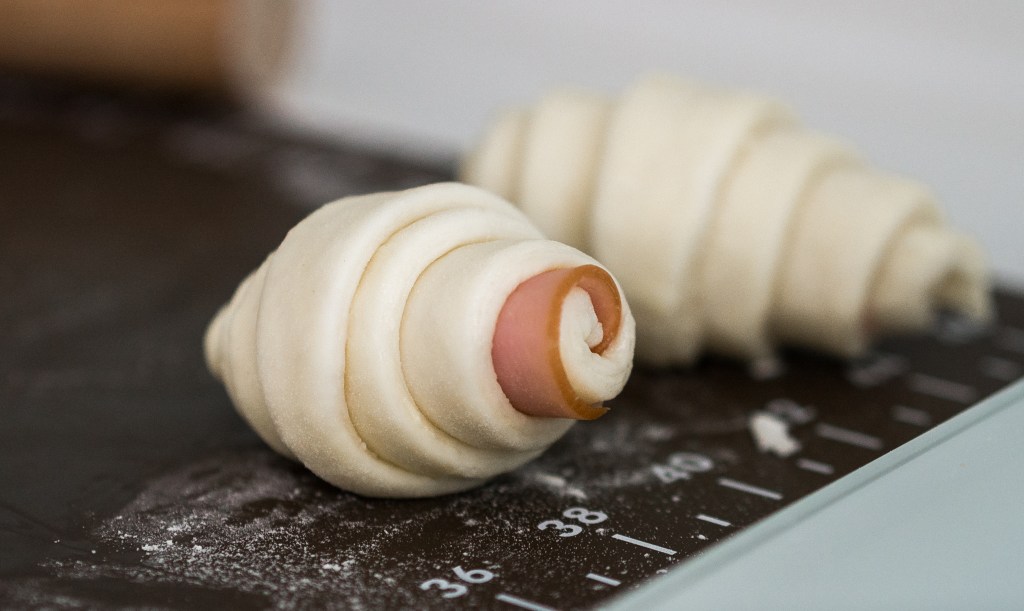
Croissant + ham
After the croissants are shaped, proof them in the cooled oven for 2.5 hours. Add/throw out ice-packs as need (if too cold/warm).
When they are puffed up to 2x the size, are jiggly when shaked, remove them from oven, cover with damp cloth and stick them into fridge. Meanwhile, let the oven temperature equalize with room temperature, about 30 minutes, before pre-heating for the bake.
Trick: It is easier to apply egg wash to chilled croissants then freshly proofed ones.
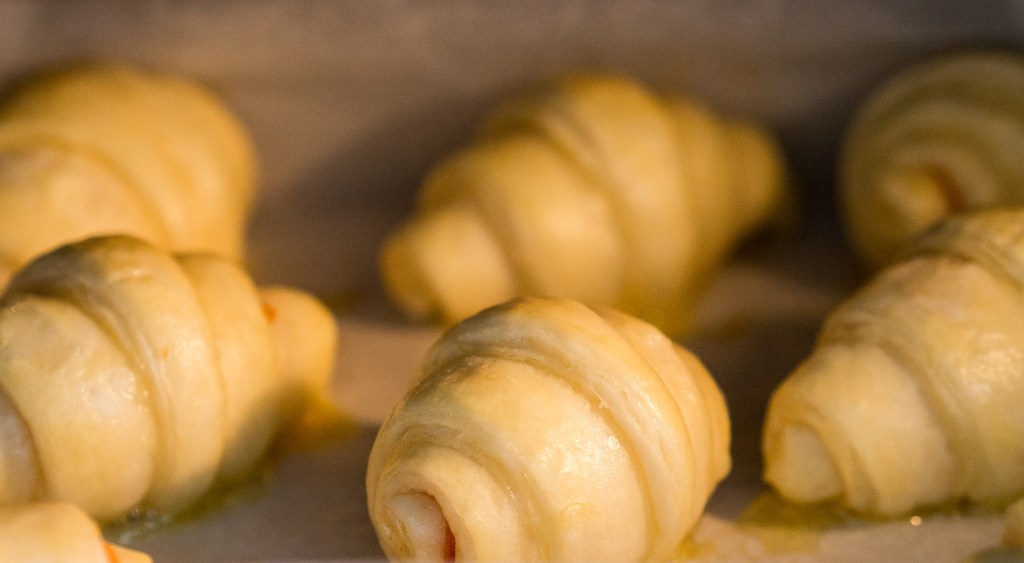
Proofed
Preheat oven to 220°C after that. While pre-heating, brush the croissants with egg wash. Bake croissants at 200°C for 20 minutes. Recently my oven seems to be getting hotter so I may turn the temperature down by 10°C.
In the oven 
Expanded
Summary
I thought Weekend Bakery’s time-table was superb and an extremely good summary so I am reproducing it here, adding some adaptions of my own.
Day 1
2000 – Gather all ingredients. Mix well and knead until dough forms.
2010 – Shape dough into a rectangle. Wrap in cling wrap x 3 layers. Keep in fridge for 12 hrs
2011 – Move butter from freezer to fridge
Day 2
0730 – Roll dough into a 12cm x 24cm rectangle. Stick into freezer.
0810 – Remove butter slab and let soften @ room temperature
0820 – Take out dough, roll it out to a 14 cm x 26 cm rectangle.
0825 – Start lamination. Do a double-fold.
0830 – Wrap dough back with cling wrap, stick into fridge for 40 mins.
0910 – Do another double fold. Stick into fridge until next day.
Day 3
0730 – Cool oven with ice packs
0800 – Take dough out. Cut in half & roll it into a 27cm x 40cm rectangle.
0807 – Cut into triangles 6-8cm wide at base. Repeat with other half.
0815 – Leave croissants in oven to proof. Add/remove ice packs as needed.
1045 – Remove croissants from oven. Cover with damp cloth, stick into fridge. Keep oven door open to let air circulate.
1115 – Apply egg wash. Preheat oven @ 220°C
1125 – Bake @ 200°C for 20 minutes.
1145 – Remove croissants from oven and leave on cooling rack for 30 mins.
Practical – Notes

Gold ingots

1. Croissants are partial to a cool environment. Anytime you are not working the dough, it stays in the fridge (not freezer). The butter needs to stay solid; the yeast needs to stay dormant.
2. Contrary to how you make bread, you don’t want too much extensibility for croissant dough. A stretchy dough makes lamination difficult. Hence, many recipes caution about overdeveloping gluten. How to not over develop gluten?
- Use medium protein flour. It’s hard to get T55 flour (11% protein level) flour in this part of the world but all-purpose or plain flour works just as well.
- Don’t over hydrate. Most croissant recipes recommend a hydration ratio of only 50%-55%.
- Hold back on the kneading. After mixing the ingredients into a dough, knead it just enough to get all the stuff well mixed.
3. Use wet ingredients cold ie the water, milk. This prevents the yeast from activating prematurely. It gets messy when bubbles act up during lamination, burst and spills butter. See # 1.
4. An overly extensible dough will get bunched up at the edges rather than where you want it to be during lamination.
5. Use quality butter (preferably French). Irish butter has a strong, distinct smell which can be off-putting. Specialised butter, say those with a 95% fats ratio, require a different recipe.
6. The dough and butter should be of similar texture. Temperature wise, the dough needs to be colder than the butter, about 4-5°C.
7. The butter slab should look solid, can be bent without breaking and not melting at the edges. Stiff butter shatters during lamination and will not be evenly distributed. Melty butter will be absorbed into the dough.
8. Don’t proof croissants in an open kitchen if its warm. The butter in the layers will melt as it proofs (you want it to melt during baking, not before).
9. A humid environment creates condensation so cooling the work table with ice packs will not work.
Your Turn

All you need are croissants

Croissants are more technical than other breads. A lot comes from understanding how your work environment affects and interacts with your dough; a fair bit from skills honed through experience & failures and very critically, knowing the performance of your oven.
Be ready to adjust constantly. You don’t have to be perfect, you just don’t give up.

Looks delicious Yamnut
Slainte
Alex
Thank you for your kind words (^-^)v
Thanks for the tips on how to proof croissants in tropical country👍🏻
You’re welcomed!
Hi, thank you so much for sharing your experience. This blog is super helpful for me (living in Pakistan with 33-35°C temperature)
Especially your note at the end “you just don’t give up” was a highly motivational reminder for me, to keep trying.
Making croissants in tropical weather is next level!
Hello Angelika, you are most welcomed! Please never stop trying and I’m sure you will be able to make them soon as well.
Hi hi, just came across your blog. I have started making croissants this year as part of my new year resolution but the warm temperature in my kitchen (averagely 30C) is really a challenge. Your blog is really like god sent and it confirms that Im on the right track in handling the dough. My croissant instructor told me that there is no need a airconditioning kitchen as she is able to make good croissants out of her 30plusC kitchen. I believe i can do it too, just like you do. Thank you so much.
I have a burning question to ask: during the roll out of the laminated dough, how can you tell if the butter layer is rock solid or soft enough for rolling when it is encased within the dough? I can only tell the butter breaks when i saw yellow patches surfacing after rolling the dough. By then its too late. Thanks.
KL
Hello KL,
really appreciate your support and kind words, thanks !
To test if butter is ready, pick up the slab and bend it. If it bends into an arch with no fracture or cracklines, then that is ready. Additional test: you should be able to make a shallow indent with your finger without it losing its shape or turning greasy.
I recommend taking it out from the fridge to thaw for about 10 minutes if you’d pre-prepare it. Due the our weather, the outer edges of the slab may be softer, or more melty but I have found that it is ok. However, if you realised you overthawed the butter, just put it back in the fridge (not freezer) for 3-5 mins. In general I think softer butter is better than hard butter.
Hope this helps!
Hi Yamnut, appreciate your reply. What about when i take the dough out of the fridge for double and single fold? Do i need to thaw before starting to roll it? Thanks.
Hi KL, you can and should start rolling the dough straight out of the fridge.
Thank you so much! Oh yes, i love your travel blog. Its been a long while since i am a wanderlust!
hi, I have just come across your blog and I love the detailed information from it. I would love to you use this recipe but I’ve got one question.
Since the humid is pretty high here, the croissant might get soggy if I let it cool down after it’s out of the oven. Is there any prevention for that?
Hi Luna, thanks for reading.
I usually let my croissants cool in the open with no issues. They don’t get soggy onced baked. If you want to be doubly sure, you can try cooling them in an covered place or in a cool oven. Have fun with the bakes!
Hi thanks for sharing the detailed instructions and photos, I am excited to try this recipe! I was wondering for the folding step:
“Ideally, do 3x single folds (fold into third) but it gets hot here and bubbles start to form by the 3rd fold. Reduce it to 2x double folds then, resting the dough 40 minutes between each turn.
For the double-fold, fold the 2 long ends inwards so they meet at the 1/3 mark of the dough, then fold the dough again into half. After the final turn, leave it in the fridge until the next day.”
I was thinking of doing the double fold method. After the 2nd double fold, do I have to roll it out before leaving it in the fridge? Or do I just do the 2nd double fold then stick it in the fridge, and then on the next day halve the dough and roll it out?
Hello Boba, after the 2nd fold, you can stick it back into the fridge. Only roll it out when you are ready to make your croissants. Have fun baking!
Thanks for the reply, I tried making this last week! It was my first time making croissants, followed your notes pretty closely and they turned out better than I expected, managed to get the airy structure on the inside 🙂 I had some trouble with the butter on Day 2 – after leaving the butter slab out at room temp for 10 mins it got a bit too melty on the outside but when I tried to bend it, the slab snapped in half, I rolled it out with the dough anyway and I could see the butter was breaking into smaller patches here and there. On Day 3 when I took out the dough from the fridge it had also expanded about 1.5x from when I put it in the day before, think the yeast may have been activated. Just kept with the steps and somehow everything turned out fine after baking, was very satisfying cutting them in half and seeing the insides. Thank you so much!
Hello Boba, thanks for letting me know how it went! Glad that it all turned out well. Keep going, you’d get better!