
First, there was Circuit Breaker. Then Circuit Bakers began to emerge from the abyss. I didn’t expect to join their ranks – all I did was bake an orange chiffon cake. One day I find myself diving into bread, all because of this zen and beautiful Soft & Fluffy Milk Bread video by Cook Kafemaru.
If Covid-19 didn’t happen, me and bread would never have connected.
When At First You Don’t Succeed …
So began my bread-making endeavour using Cook Kafemaru’s recipes and crusty (old) baking equipment plus new supplies from the local bakery supplies store.
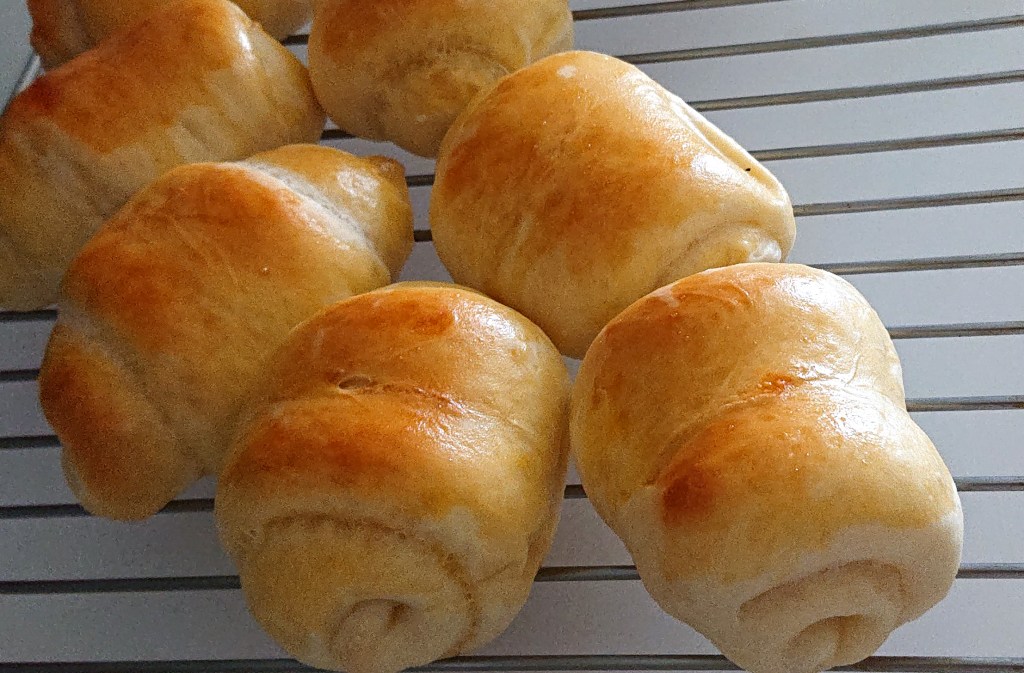
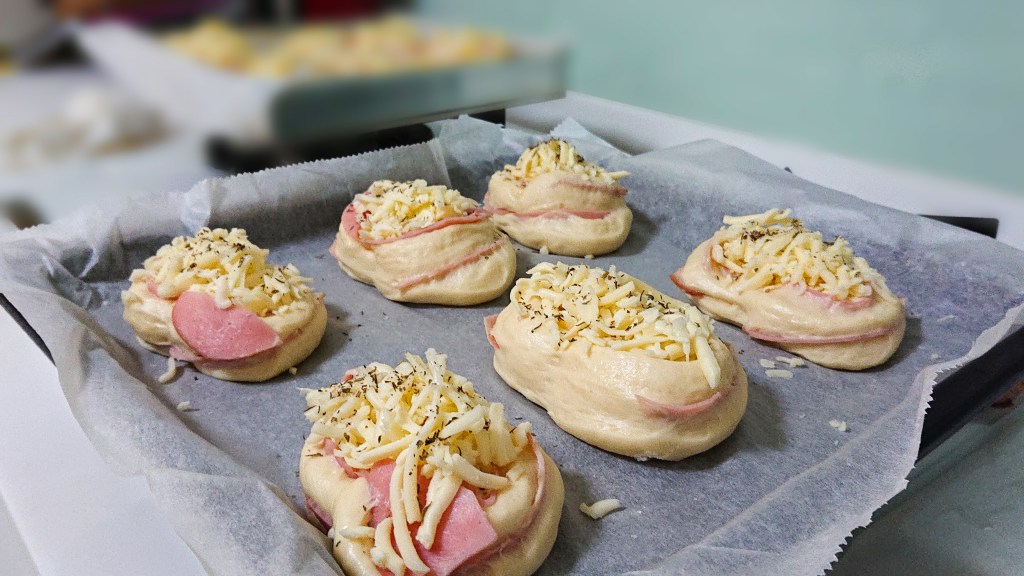
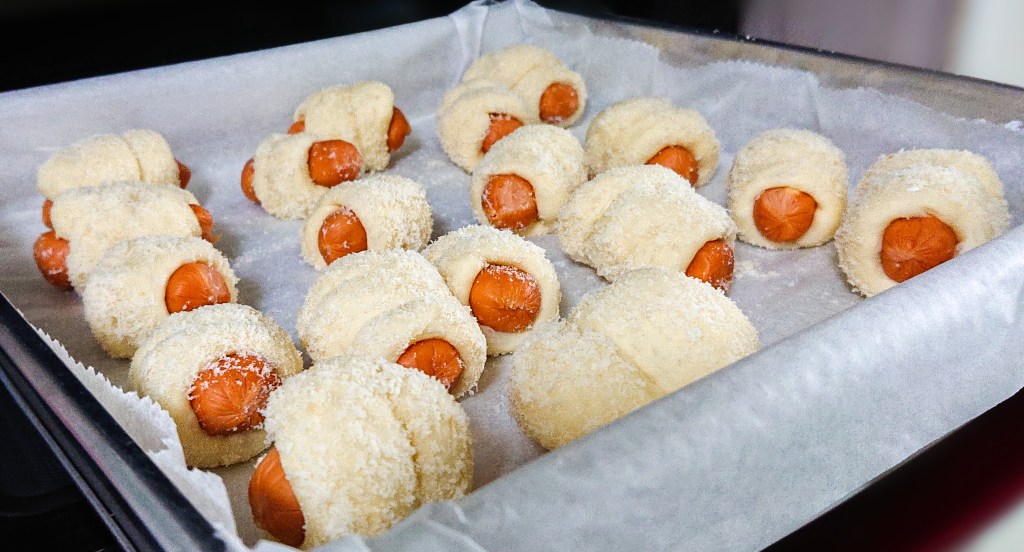
Here are my first few not-so-successful attempts.

“Milk Bread” 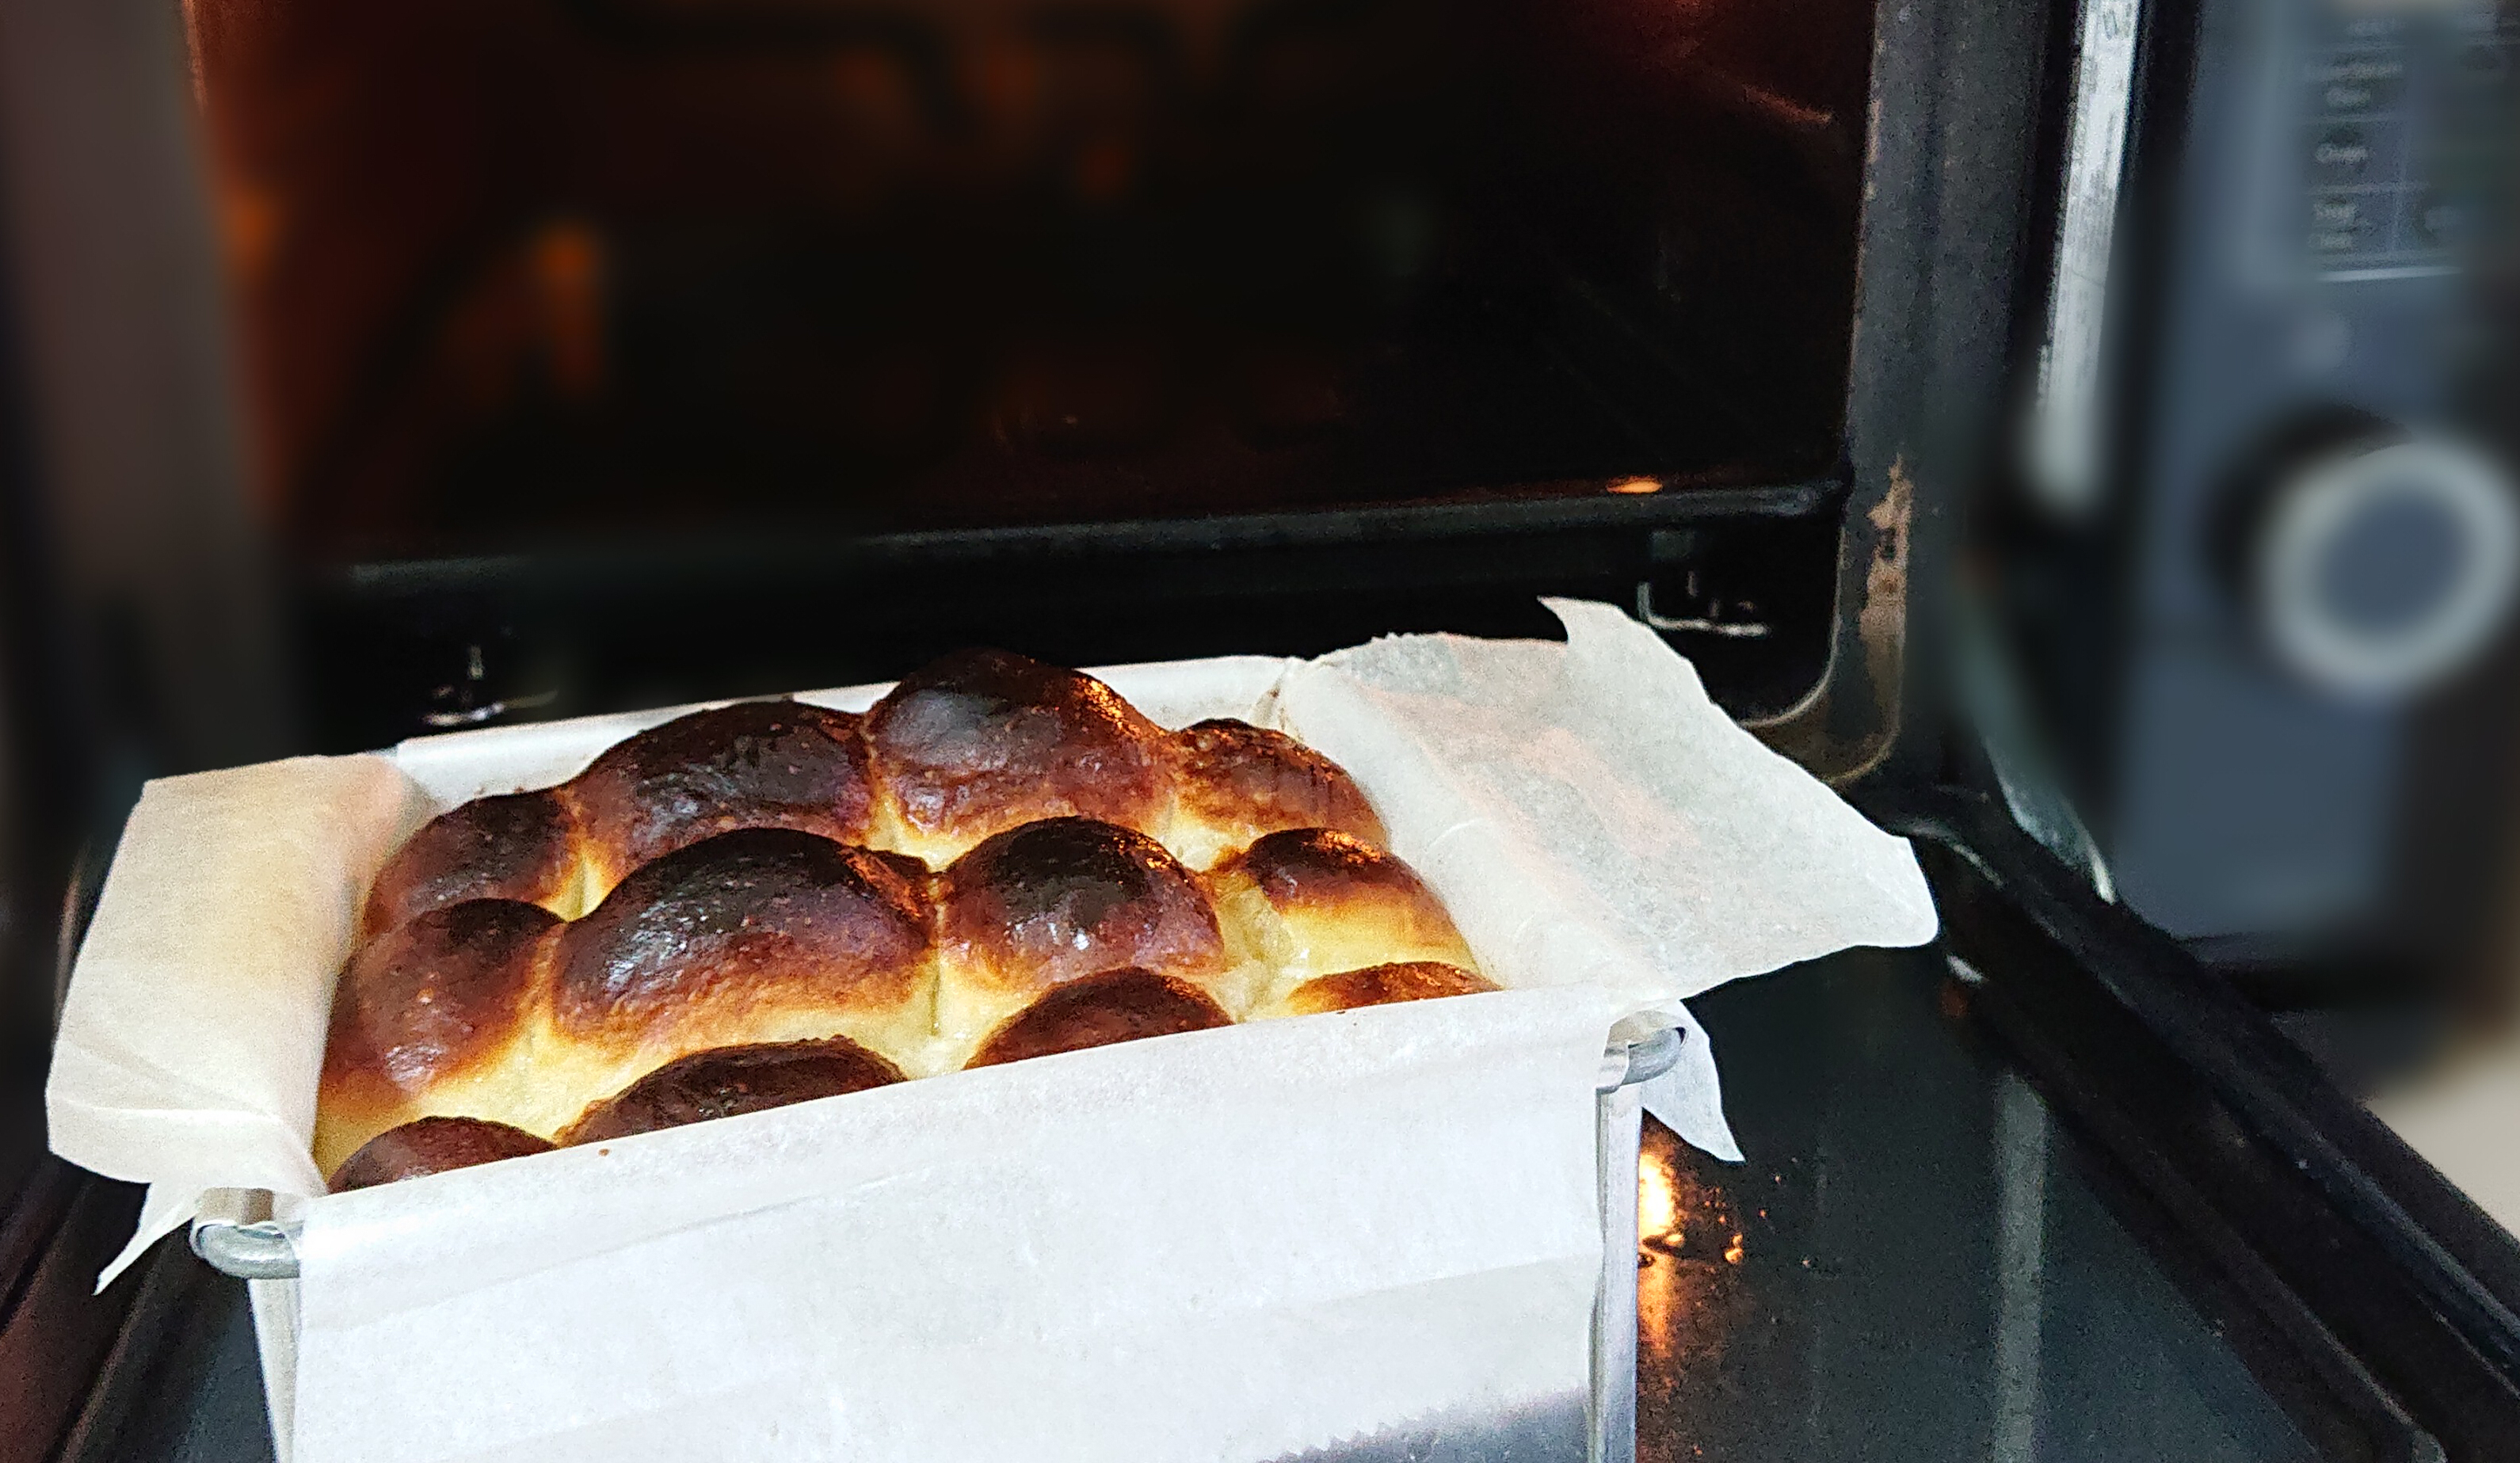
“Butter Bread” 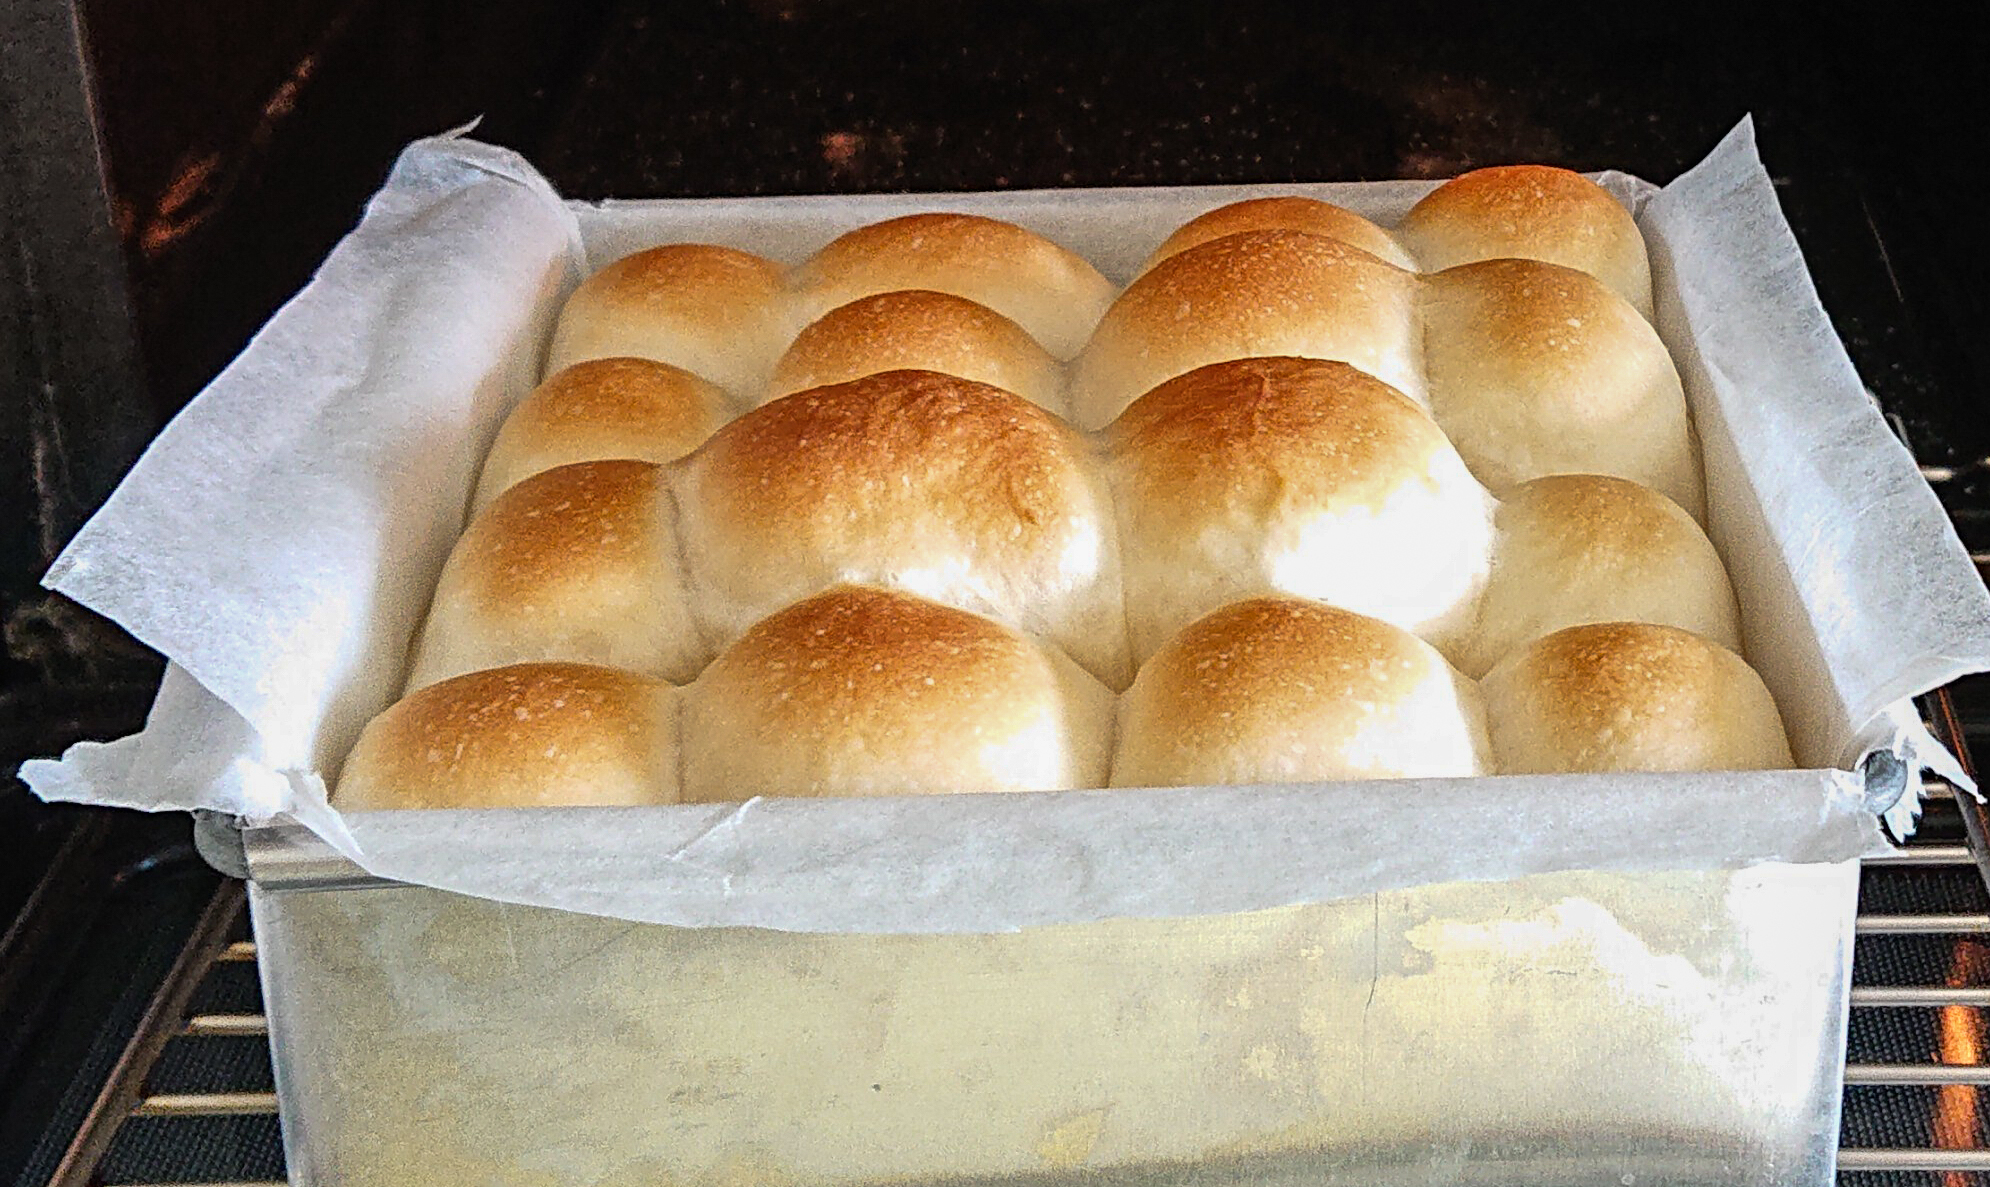
“Cheese Bread”
Bread-making is simple if you know the basics: how gluten forms (flour + liquid), how yeast behave etc. Yet, as a newbie, it was quite a struggle, getting to grips with terms that people take for granted. After 2 months and countless attempts, here are some takeaways that will smoothen your learning curve.
Which Yeast
Which yeast is better? Active dry yeast or Instant yeast? For the beginner, I suggest instant yeast. You don’t have to ‘activate’ or ‘bloom’ it before adding to the mix. With active dry yeast, you need to know how to get it ready for action which normally means adding warm water/milk (usually 38-40 °C) and sugar to the yeast and letting it bubble for up to 15 minutes. Instant yeast doesn’t need all that fussing.
I tried both. I find instant yeast shortens my preparation time, shortens the proofing time (which was also consistent) and the bread was not worse off for it.
Active dry yeast can be swapped with instant yeast but just note that when you use active dry yeast instead of instant yeast, you need to scale up the amount by 25%. Get the correct quantity using a conversion table.
Read how yeast reacts to temperature here: All About Yeast.
Tip: You can always make do with less yeast than you think. I use 1/2 tsp for 250g flour.
Which Flour
I use bread flour most often, even if some American recipes call for all-purpose flour because well, I am a little intimidated by lower gluten flour.
And not all brands make them alike. Here’s a comparison of the protein levels of flours from the more commonly available brands here.
| Flour | Redman | Prima | Bob’s Red Mill |
| Bread Flour | 13.2% | 13.1% | 13.9% |
| Plain Flour (All Purpose) | 10.3% | 11% | 11.7% |
| Cake Flour | 9.8% | 7.5% | 8.8% |
| Hong Kong Flour | 8.1% | 7.5% | NA |
| Top Flour | 9.7% | 9.5% | NA |
| Self-Raising Flour | 12.8% | 9.6% | 8.5% |
If you are making croissants for example use a medium protein flour or 11% (the French use T55 flour). Here’s a flour 101 on flour type and uses.
Lower gluten flour is harder to knead (learned it the hard way!) but I think I may just be getting it. See section on Kneading.
Making The Dough
Do you mix all the dry ingredients together then add the liquid or do you mix the liquid first and add the flour last? I’m not sure there’s any discernible difference either way. I think it’s a personal preference.
When I first started, I mixed all the dry ingredients together first before adding the liquid because that was the easiest. Lately, I do it in this sequence because it seems intuitive: yeast -> milk -> sugar -> egg -> Tang Zhong, mix thoroughly then sift the salt and flour into the liquid.
Tip #1: Use cold/room temperature milk if you are fermenting overnight and warm milk (around 40°C) if you are following through at one go. Cold milk straight from the fridge should be used if you are working with low gluten flour. Singapore is warm so you don’t actually need to warm up the milk so much.
Tip #2: Salt strengthens gluten structure but also kills/inhibits the yeast and competes with the yeast for moisture so it’s usually the last to go in. Once, I forgot it completely but the bread still turned out ok, just that the taste was a bit wanting. Try not to throw salt on the yeast directly – the bread should be fine.
Tip #3: Butter goes in only after 1st knead because fats inhibits gluten formation if added directly. Here’s the explanation. Also, see section on Kneading.
Tip #4: Use good French butter. I’ve tried an Irish brand (overpowering smell) and a South-American one (too powdery). French butter has a wonderful subtle flavour, feels creamy but is solid when frozen.
Tip #5: If you need to melt butter do it over a bowl of hot water not in oven/microwave. Butter splatters when its warming up in the microwave which means you have to deal with a major clean-up later on.
(Hand) Kneading
Kneading is my least favourite part of bread-making. This is the one that caused me a good amount of anguish. Most blogs/vlogs will let you know you need to knead for 10-15 minutes and I actually used a timer! But I was never able to achieve the ‘window-pane‘ texture after 15 mins. Sometimes not even 30 minutes.
Imagine you are pounding away at the dough, sweat dripping down the forehead, fingers aching from all the work and that ball thing is still sticking to the counter, the visible gluten strands tearing apart when you stretch it. Terribly frustrating!
Tip #1: Let the dough mixture rest for 30 minutes before you knead (autolyse). This gives the gluten in the flour time to gather itself into a stable structure. With that, yes, you can be done with all the kneading in just 10-15 minutes or less.
I have tried autolyse by mixing just flour, milk, sugar and letting the dough rest for 1 hour before adding the remaining ingredients: egg, Tang Zhong, yeast, salt. That didn’t work because the dough was stiff as a rock and rocks don’t embrace other stuff well if at all. What I got was an angry gooey mess that did rise, but looked nothing like bread dough.

Angry gooey mass
So, just mix everything in and leave it to autolyse.
Tip #2: Knead on an open counter-top. Kneading in the mixing bowl will save some water and washing time but it greatly impedes your movement and you are more likely to knock up your knuckles. Give yourself some love ya?
Tip #3: Avoid adding flour as you knead even if it feels overly sticky. Additional flour affects bread texture. A high water-flour ratio (and sticky dough) is supposed to give a softer texture. Adding too much flour during kneading negates all that and you will end up with a not-so-soft bread (happened to me).
Tip #4: To knead a wet dough, first, spread and stretch the dough all over the counter as if you are tearing it apart. Imagine you are scrubbing a piece of soiled cloth over the washing board. Spread it, scrub it a few times, scramble it together again, turn it over and repeat so that all areas get equal attention. See how it is done in this video (15:54 onwards). Maybe I will call this the washing board method.
Yes, it’s counter-intuitive because you are tearing apart the gluten strands that have already formed but it works. Do it until the dough can be lifted without sticking to the counter and then use the slap-and-fold method until the dough becomes smooth.
Tip #5: Add butter only after the dough becomes smooth and achieves a window-pane consistency since butter slows down gluten formation. Make sure the butter is room temperature soft (smear-able) for easier incorporation.

Double knead 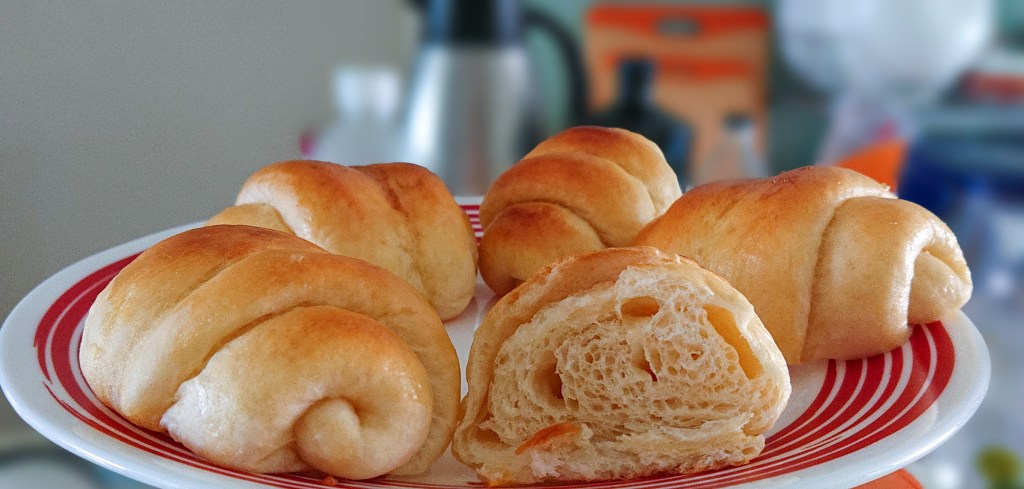
Single knead
You will have to tear the gluten strands apart again to work the butter in but once the butter is absorbed, the dough springs back and will only require a few more slap-and-folds to return to the smooth consistency (half the time required in 1st knead). I’ve added butter right before kneading (being lazy!)) but I found that I didn’t save that much time and the bread structure was inferior to the double-knead method.
Tip #6: Always make sure the dough is smooth and fully stretchable for its bulk fermentation. If it is not, give it a rest (10 minutes) and work on it again. Because if it is not smooth, you will not be able to roll it out properly later on (lots of holes! trust me) and you may as well not use it.
Tip #7: There are many other kneading methods: push-and-pull, fold-and-roll, rubuad, rock-and-roll, 2-handed kneading etc. If one doesn’t work, try another. Different types of dough will need different methods or a combination. Find one that suits you best.
Tip #8: Kneading transfers heat to to the dough so pushing it around for too long speeds up fermentation which makes the kneading more difficult (x2 in tropical Singapore!). That’s why many bakers advise minimal contact with the dough (how???). When it’s getting hot, pause, stick the dough into the fridge to cool it down, and repeat.
Tip #9: When using low gluten flour, cold liquid is preferred so that the yeast will not bloom too quickly; give it 30 minutes to autolyse. Adding more liquid also helps with the autolysis.
To knead, push-and-pull the dough a couple of times, then use the fold-and-roll a few times. The low-gluten dough will exhibit signs of breakage at the folded edge even though it is smoothing out. And it will keep breaking whenever you fold and roll it.
This is when you use both hands to press the dough down and together (gently) and roll it till the surface is smooth. (Let’s call this the press-and-roll method). Fold the dough onto itself and repeat until there’s no more breakage when you fold. I find this method gentler for a gluten structure that is fragile. When the dough is ready to be rested, you’d notice it has become noticeably warmer.
Here’s an excellent blog on making chinese steamed buns with low gluten Hong Kong/Pao flour.
Tip #10: Try to put in at least 10-15 minutes of kneading time even though your dough looks come-together after a few presses. This will guarantee a really nice structure.
Bulk Fermentation – 1st Proof
With instant yeast, I normally need only 40-45 minutes for the dough to double in size (because Singapore is easily 28-32°C on a daily basis). You can also stick the dough into the fridge (not freezer) overnight (12-13 hours) after kneading; bulk fermenting in the fridge does bring a nice flavour to the bread.
Here’s how the dough looked like after kneaded, @12 hours, @13 hours, @14 hours (1 hour at room temperature).

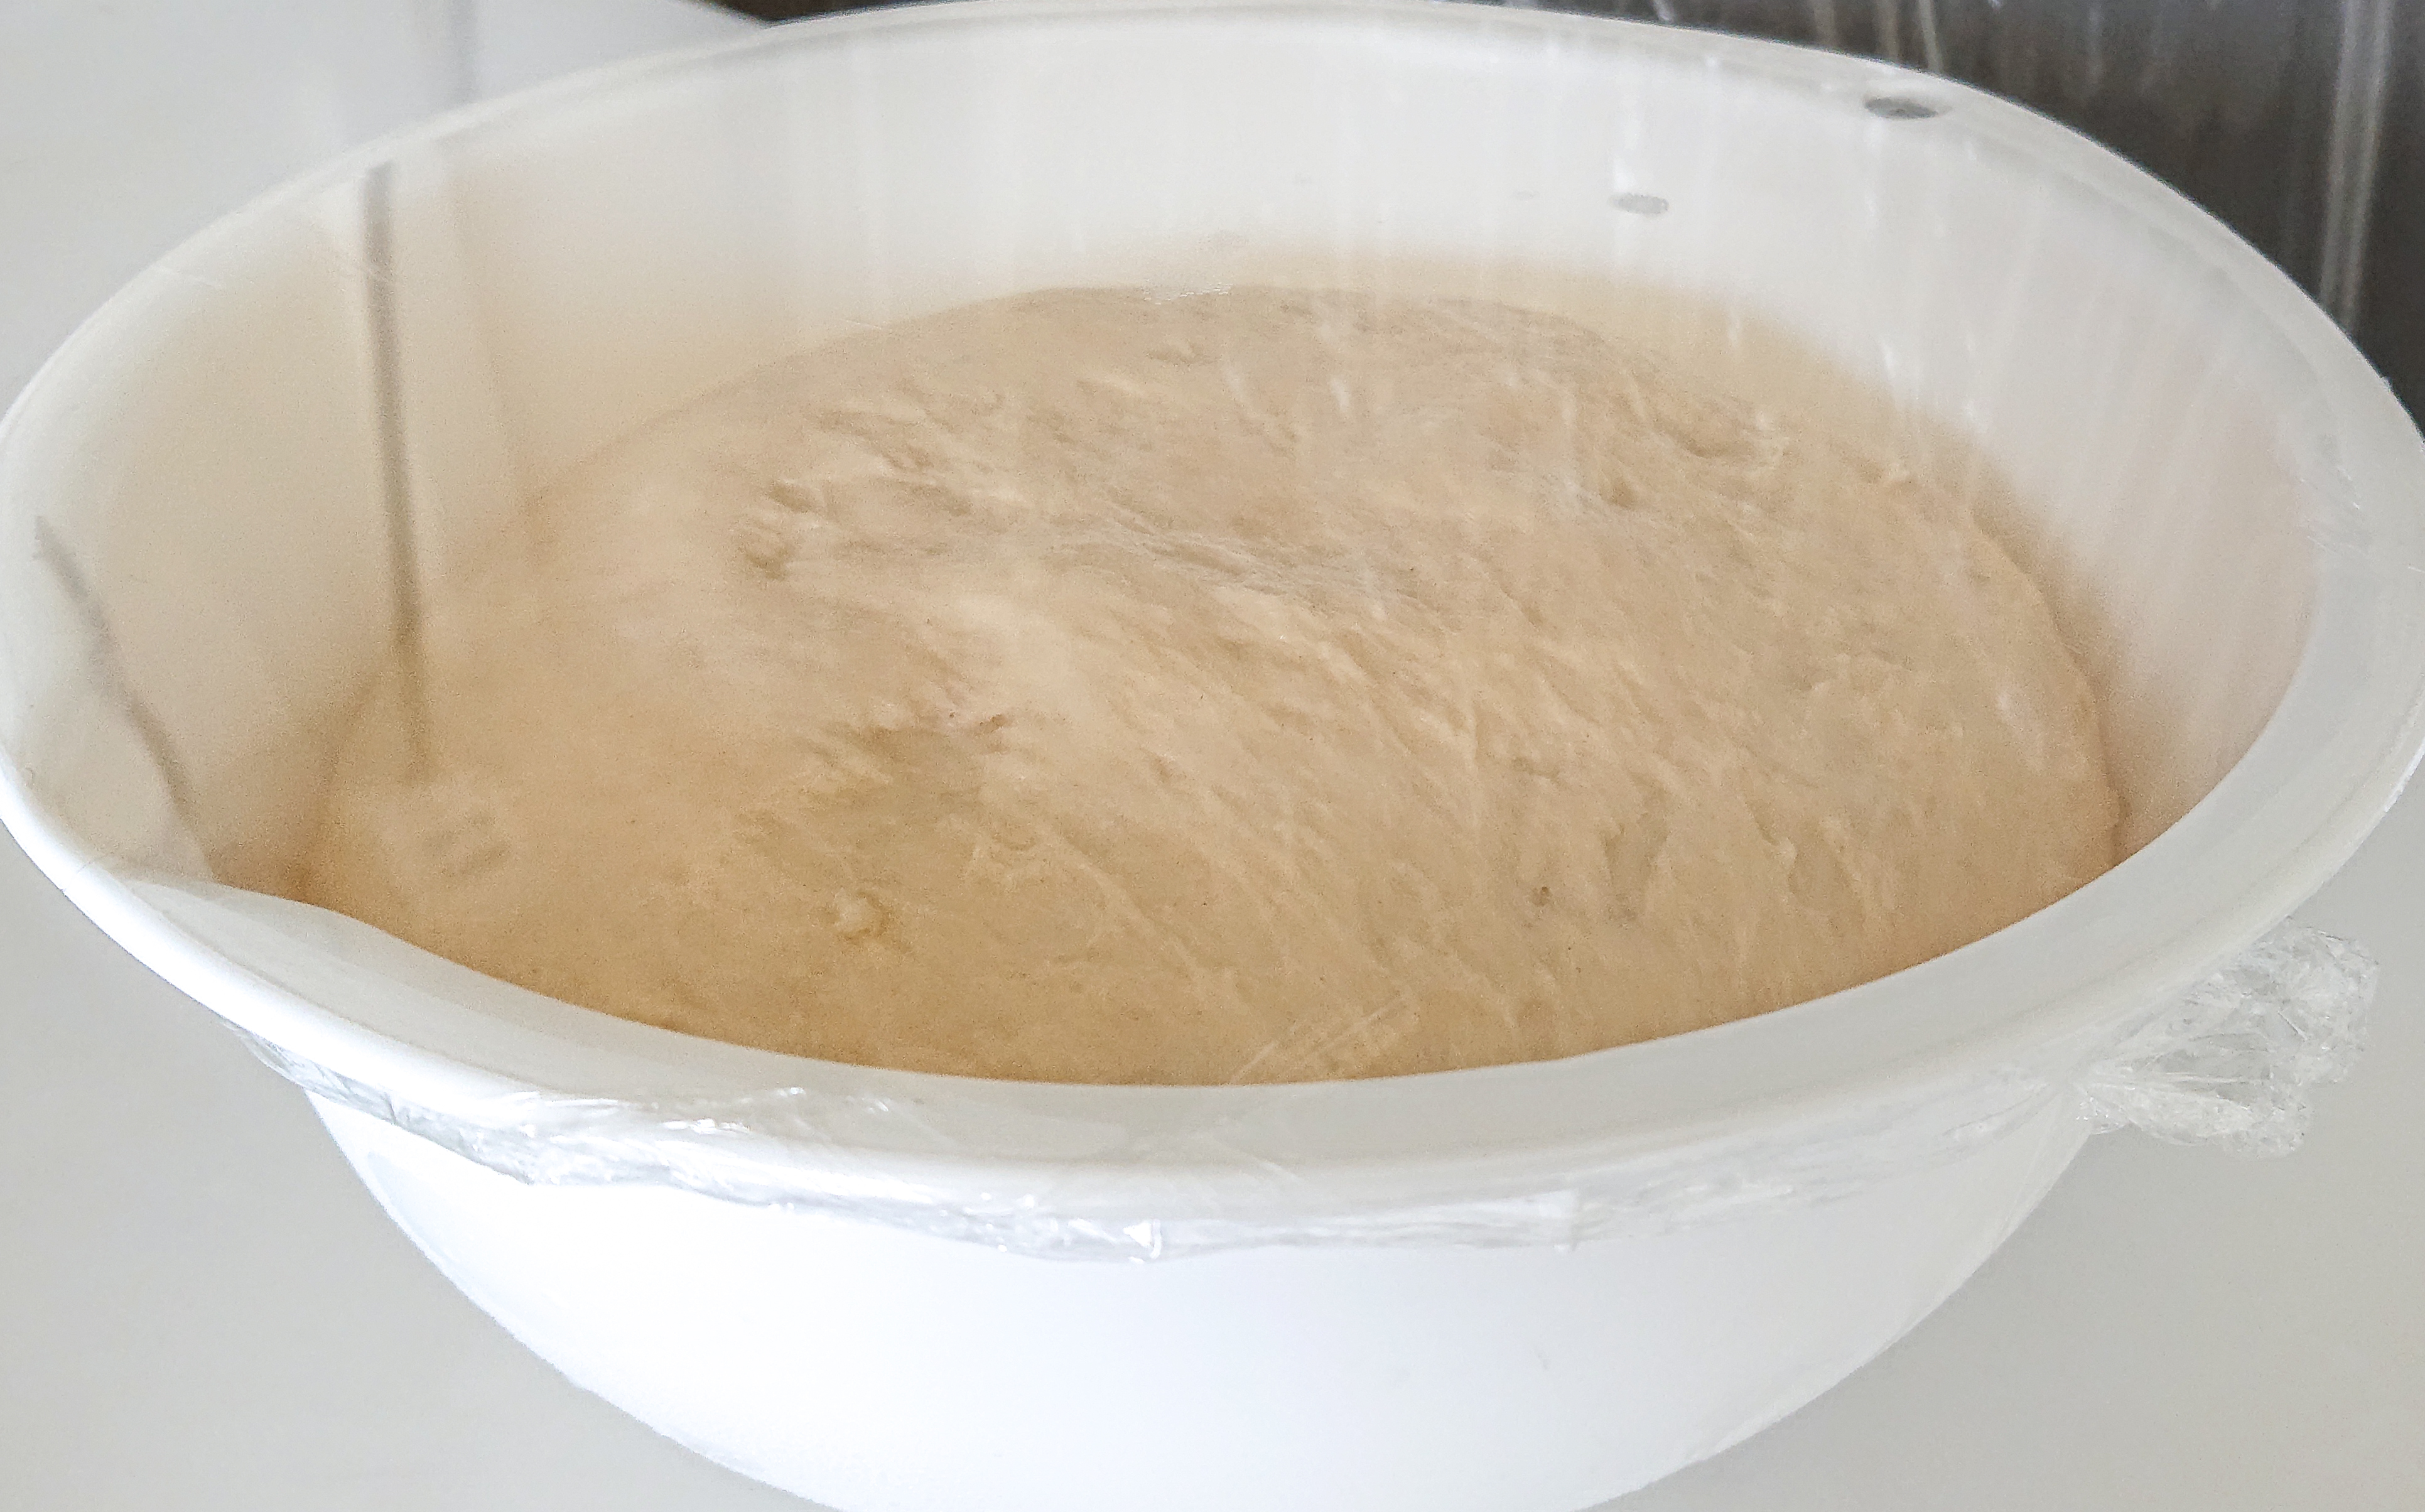

The dough will rise slowly but it will definitely rise. If it hasn’t risen enough by next morning, give it some more time to rise out of the fridge. Anytime from 20-60 minutes.
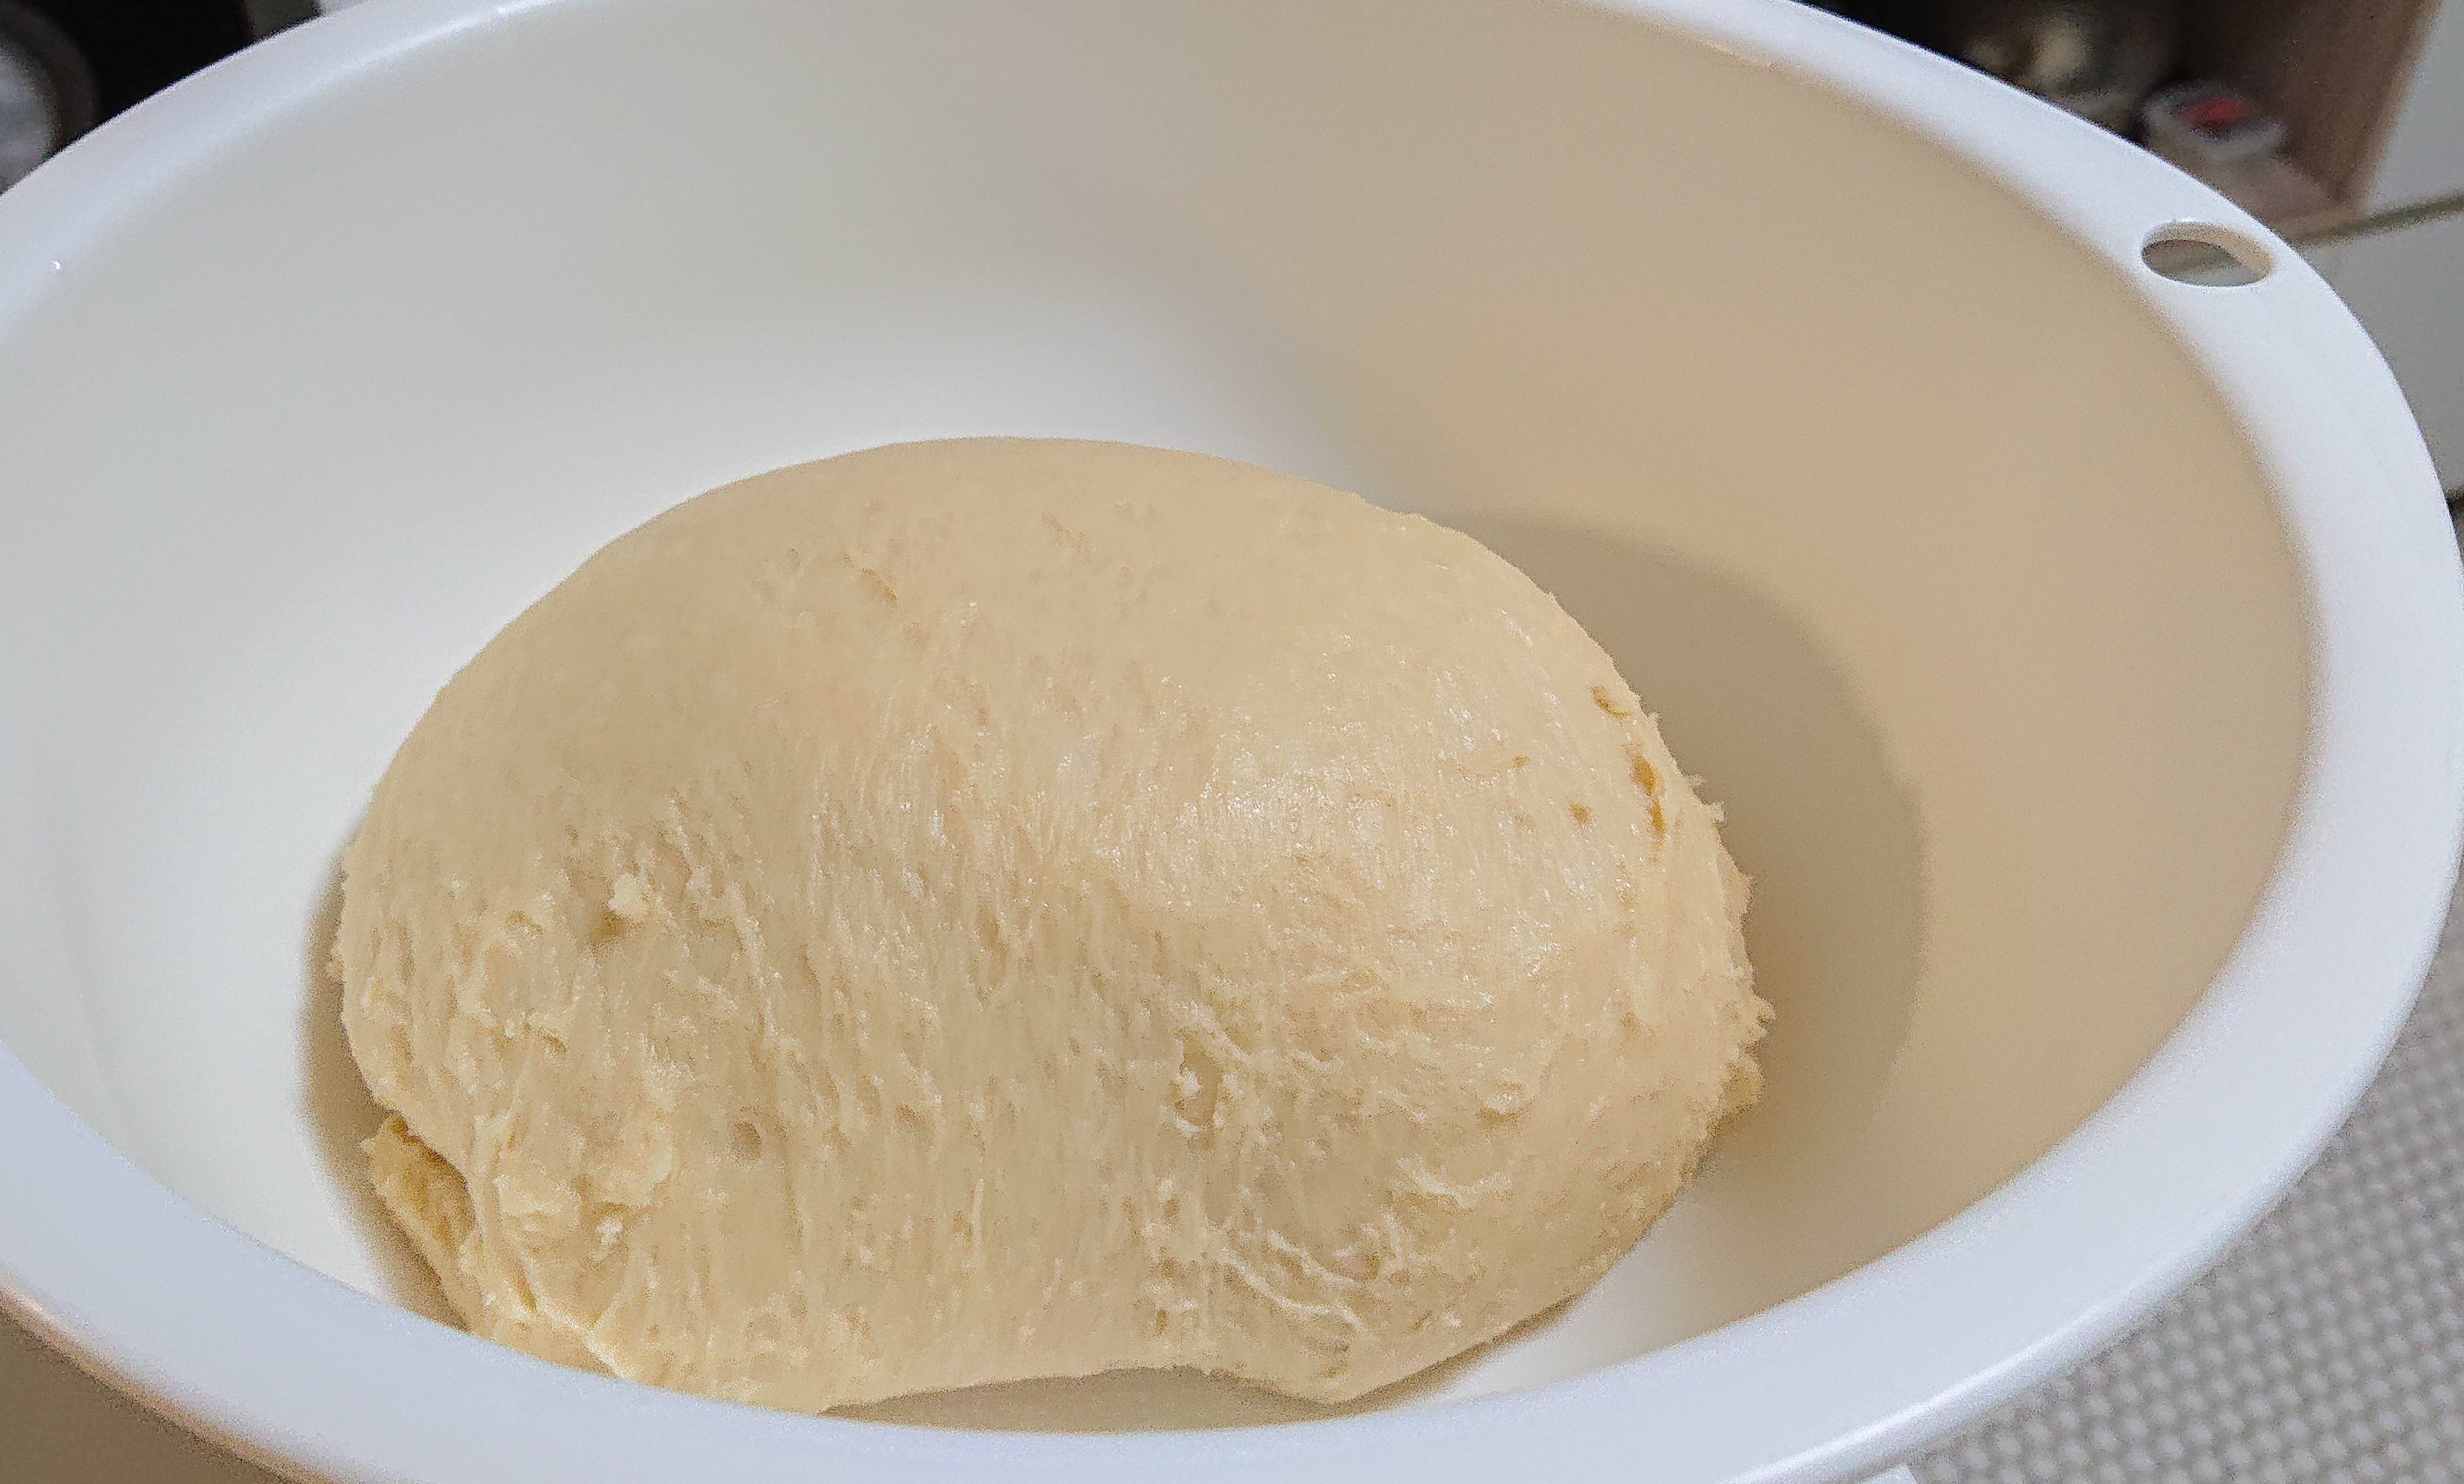
If the dough has risen enough in the fridge, it can go onto the counter straightaway to be cut and shaped. It will still be cold, maybe less malleable but still elastic enough to be worked.
Tip: Proof the kneaded dough in a plastic bowl/container; the dough will dislodge readily and cleanly without need to grease or flour the bowl beforehand. Dough sticks to metal mixing bowls so avoid proofing in those.
Shaping The Dough
After the dough has risen during the bulk fermentation stage, the next stage is to drop the dough on a floured surface and press it down to remove the air trapped inside (degassing). Pat the dough down, use your knuckles to press into the dough and fold it in a few times.
After you have cut the dough into the desired size, flatten and fold each dough into itself then roll it into a ball. Folding helps to create layers in the dough. Let the dough rest for 15 minutes. This is known as bench time which is to allow the gluten to relax.

Plain buns being proofed
If you need to roll out the dough into a rectangle later on, it is best to rest it in an oblong form rather than a ball. If you are making long thin ropes, then it is best to rest the dough into a rod/cylinder form or you may want to allow for a second bench time ie roll into ball, rest, fold into cyclinder, rest, then stretch. Bench time, gives dough time to get used to the new shape so that when you shape and stretch later, it will not snap back or recoil. Oh yes, gluten has elephant memory.
Me: I am going to roll this little dough ball into a long thin rope.
Between Baker and Dough
Dough: No! I’m a ball, I refuse to be a long thin rope!
Me: Why won’t the dough stay stretched and long? Why does it keep recoiling?
Dough: Because I’m a ball not a rope, you idiot!
Once you have shaped the dough, place the sealed part at the bottom so that the dough will not tear off or tear apart during proofing.
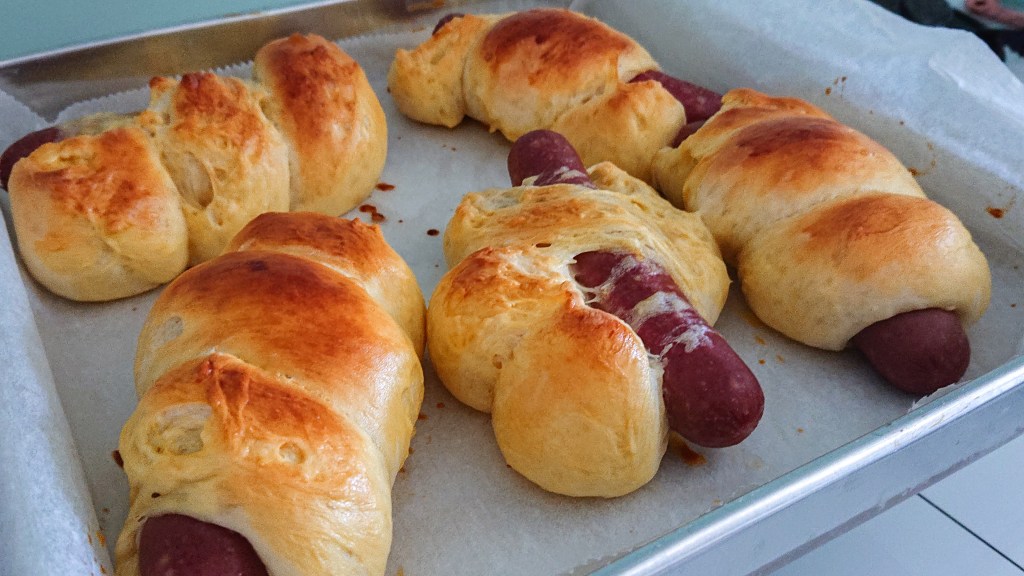
Help! My jacket is falling off!
Tip: Use a digital weighing scale to weigh and cut the dough into identical sizes.
Tang Zhong 湯種,汤种
Tang Zhong is the secret ingredient Japanese bakers used to make their bread softer and retain the softness over a longer period. Google ‘Hokkaido Milk Bread’ and you will see how people from all over the world extols the virtue of Tang Zhong.
Tang Zhong is actually very easy to make. Add flour and 5 times its weight in liquid (water or milk) and stir it over the stove (65°C) until a slurry pudding-like mixture is formed. Or you can make it with the microwave (which is what I usually do because I refuse to wash another cooking pot).
Rules of thumb when using Tang Zhong:
1. Use 5%-10% of the recipe flour weight for the Tang Zhong (I use 6%).
2. The liquid used in the Tang Zhong is contributed from the liquid in the original recipe so do not add Tang Zhong and the same amount of liquid called for in original recipe. Say the recipe requires 180 ml milk. The Tang Zhong used up 90 ml milk, so you are left with 90 ml milk.
3. However, because the dough can’t utilise the liquid trapped in Tang Zhong, the hydration ratio needs to be adjust upwards by another 10-15% to achieve the same consistency. So instead of 90 ml, you may need to top up the liquid to 100 – 110 ml instead.
Here’s a good reference on how to convert a recipe to incorporate Tang Zhong.
My Favourite Dough Recipe
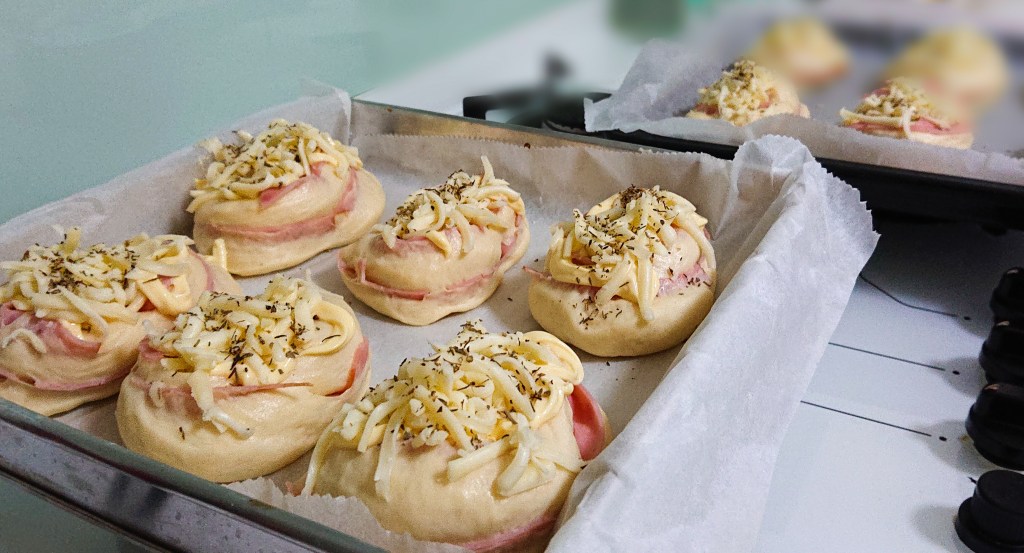
After trying numerous recipes and making some minor adjustments, this has become my favourite (basic) dough recipe (adapted from Kimiya’s Scallion & Garlic Cheese Bread recipe). I use it to make plain buns or fill them with red bean paste, cranberry cream cheese, garlic butter, ham & cheese, chocolate etc.
| Ingredients | 250g version (makes 12) | 350g version (makes 17) |
| Bread Flour | 250g | 350g |
| Yeast | 4g | 5g |
| Milk | ||
| Sugar | 35g | 49g |
| Egg | 1 medium | 1 large |
| Tang Zhong | 96g | 134g |
| Salt | 3g | 4g |
| Butter | 30g | 42g |
31 Jul 30 update: If using Tang Zhong, hydration ratio should be higher ie 75% to get really soft bread. See updated milk quantity .
Putting it together
1. Make the dough ie mix the ingredients together except butter. Rest 30 minutes.
2. Knead. Add butter. Knead until smooth dough is formed. Rest 40 minutes.
3. Press down to degas the dough, Cut into 43g a piece. Roll into balls (or other shapes). Rest 15 minutes.
5. Shape the balls. Add fillings. Line on baking tray. Rest 40 minutes.
6. Pre-heat oven to 180°C. Brush with egg wash. Bake for 12 minutes (15 minutes if you need to brown your cheese).
Fillings (for 8 buns)
A. Cranberry Cream Cheese: 125g cream cheese, 35g sugar, 1 tsp vanilla essence, dried cranberries (handful)
B. Garlic Butter: 30g Butter, 2 tsp chopped garlic, pepper
C. Red Bean Paste: 18g for each bun

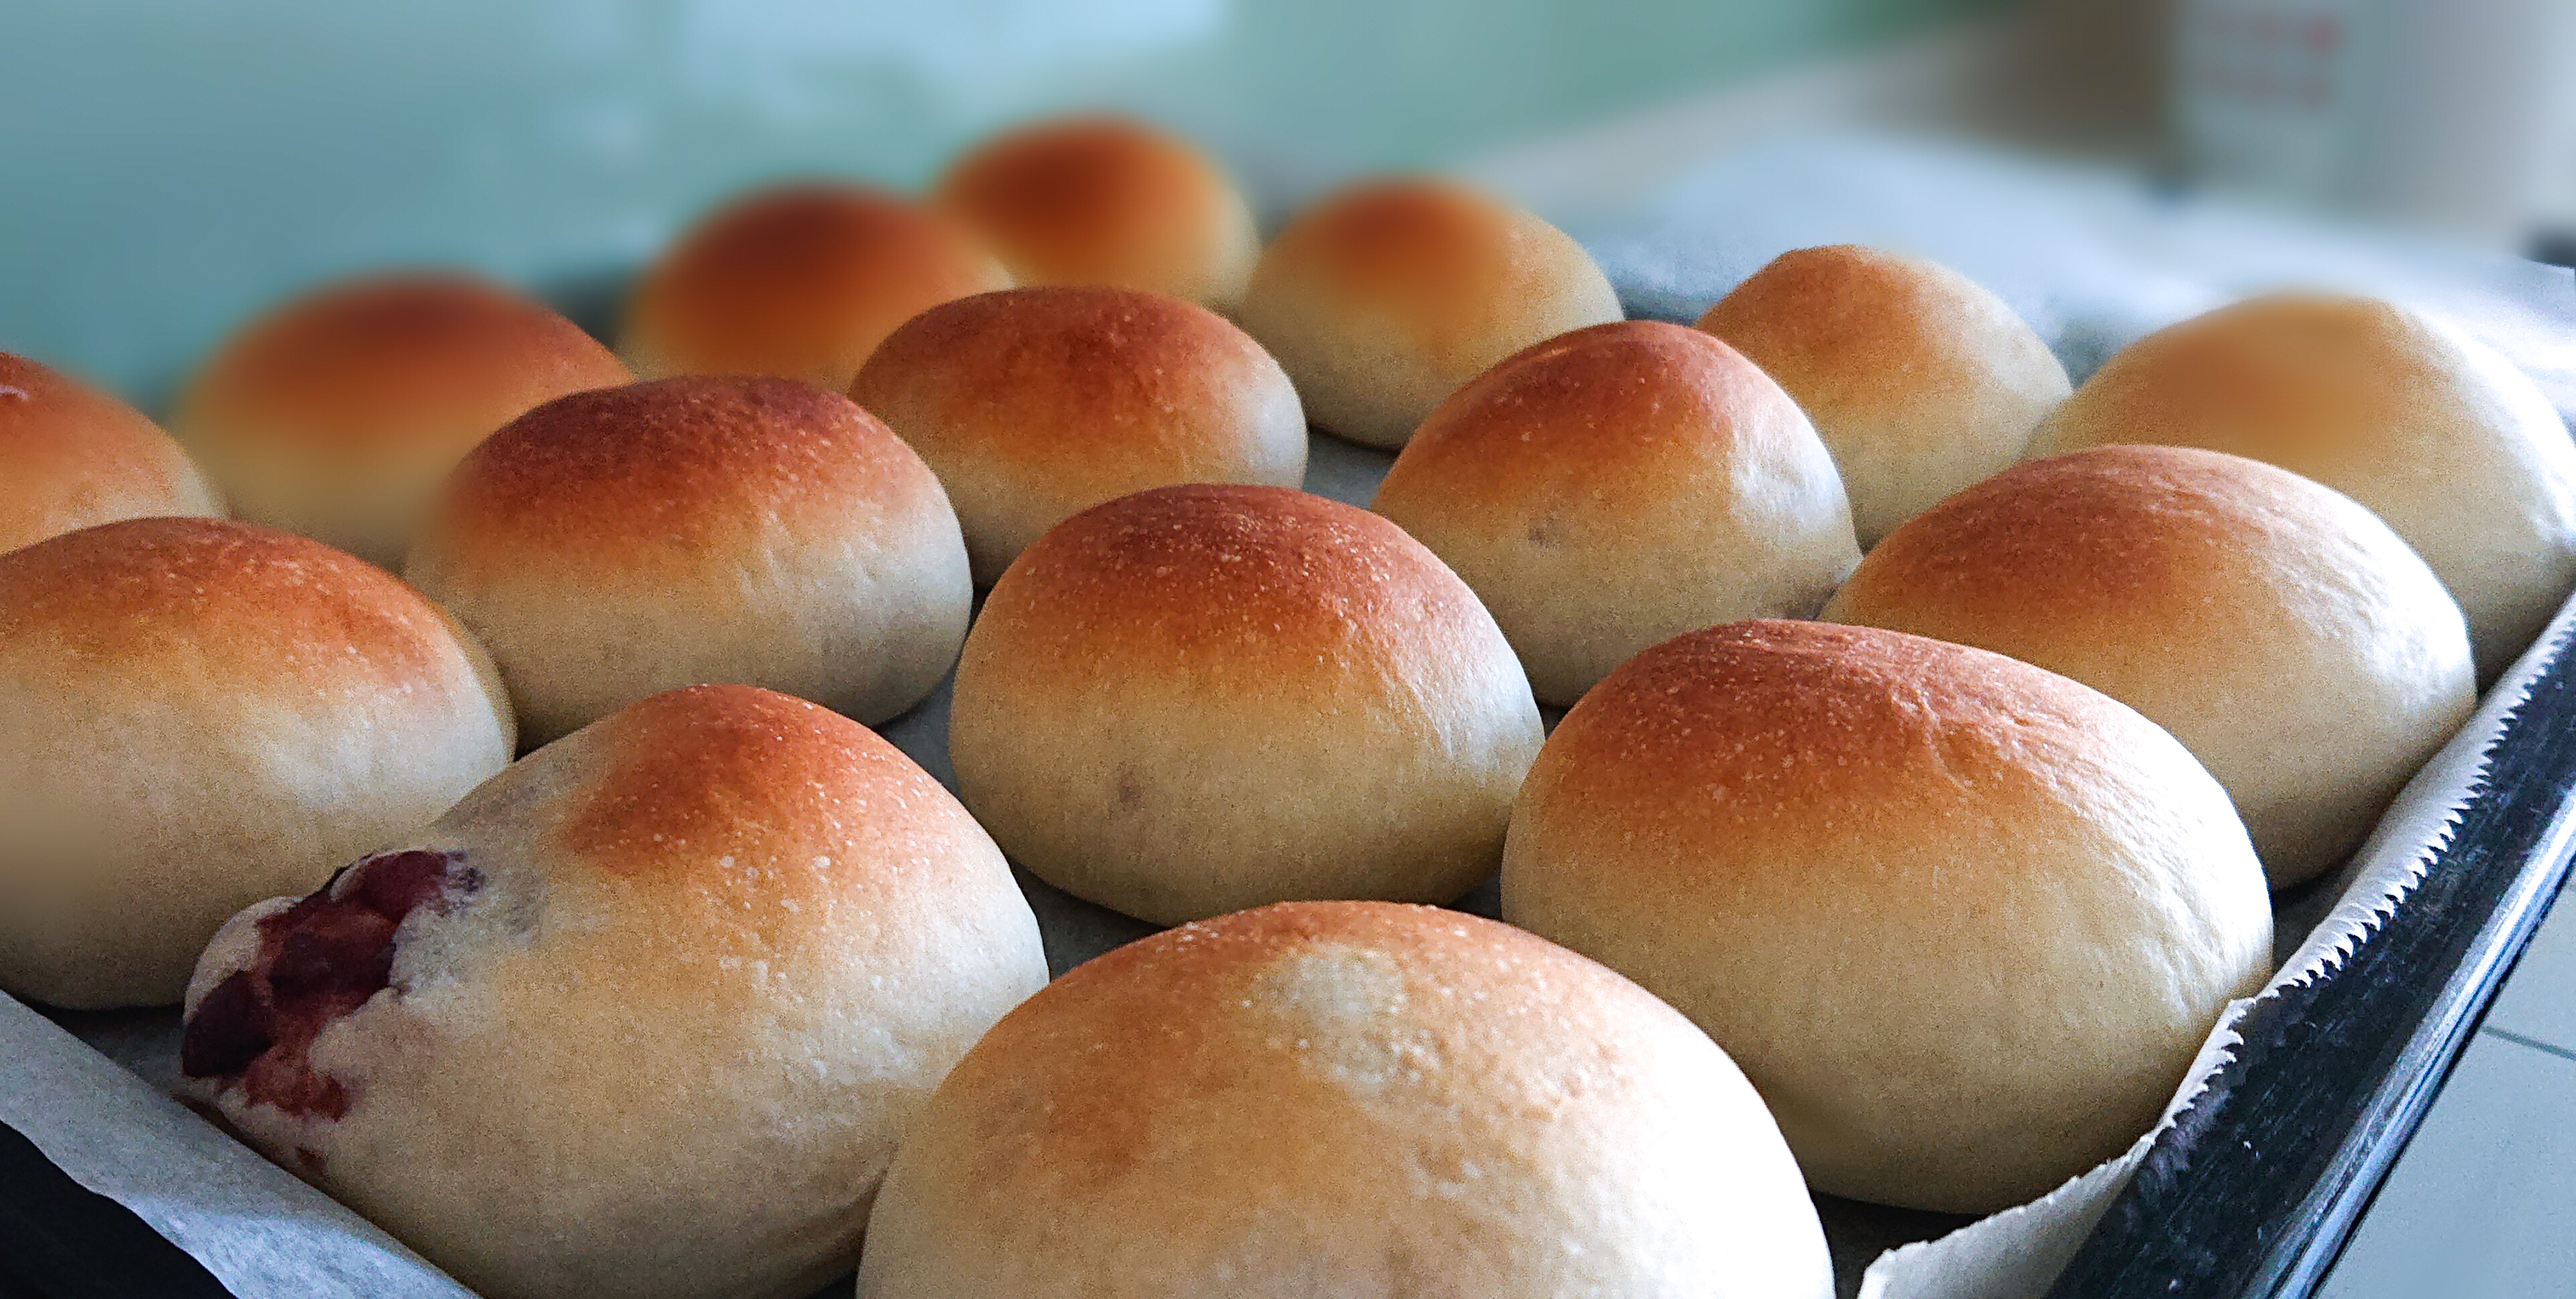


Baking bread is tedious but oh-so-satisfying, especially when the bread is proofed and is soft and pillowy to the touch, like a baby’s cheek. That’s the reward (besides getting to eat good-tasting bread).
Other references: Different Types of Flour, Salt in Bread Dough, Gluten: How Does It Work? Taking Control of Gluten, How to knead each dough, Dough Kneading Techniques, How to Knead Dough Like You’re In Charge, A How-to Guide To Kneading Dough, How to Hand Knead Bread Dough, My Tangzhong Roux FAQ, Revealing the Ultimate Secret of Tangzhong, 7 Different Egg Washes and How They Affect Dough Differently
Categories: Misploits

Great tips on breadmaking for beginners ! Baker yamnut bares all what that can possibly go wrong… the fav Dough recipe Produces some of the softest bread ever! Just the right proportion for each ingredients! … I followed exactly…. and yes! It works!!!!
Glad to know you had success with it! Thanks for your support!